I’m quite enjoying the cold here: been using the winter to work on house plans, automation and air sensors.
Then last week I woke up to the news this morning that Google is discontinuing the Chromecast Audio. I’ve been using two of these and the versatility is amazing – love being able to group rooms together “play in all rooms” etc.
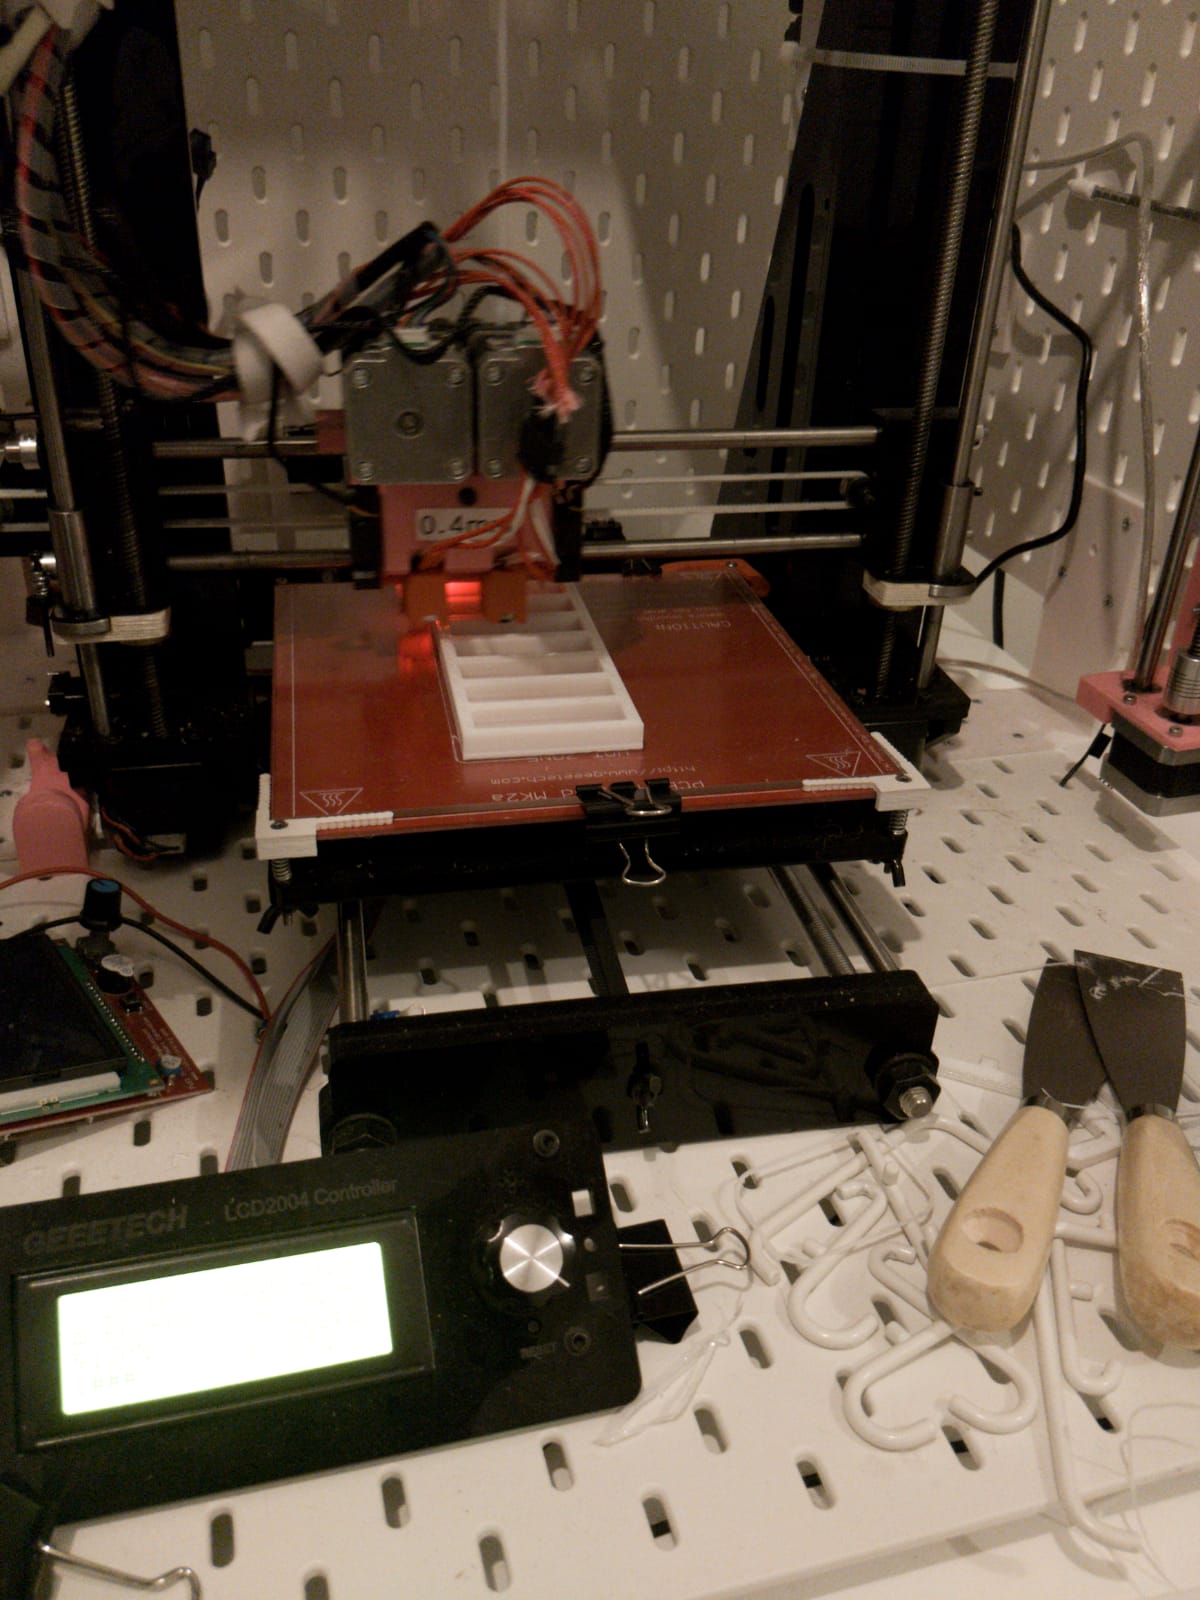
So I ordered 8 more and needed a way to rack and stack them before they feed their audio signal into the 16 channel whole audio system. Then last week bashed together the “Chromecast Audio Rack” the following shape using Tinkercad (great tool btw).
A quick update from Rene “it’s printing”
“33% done”
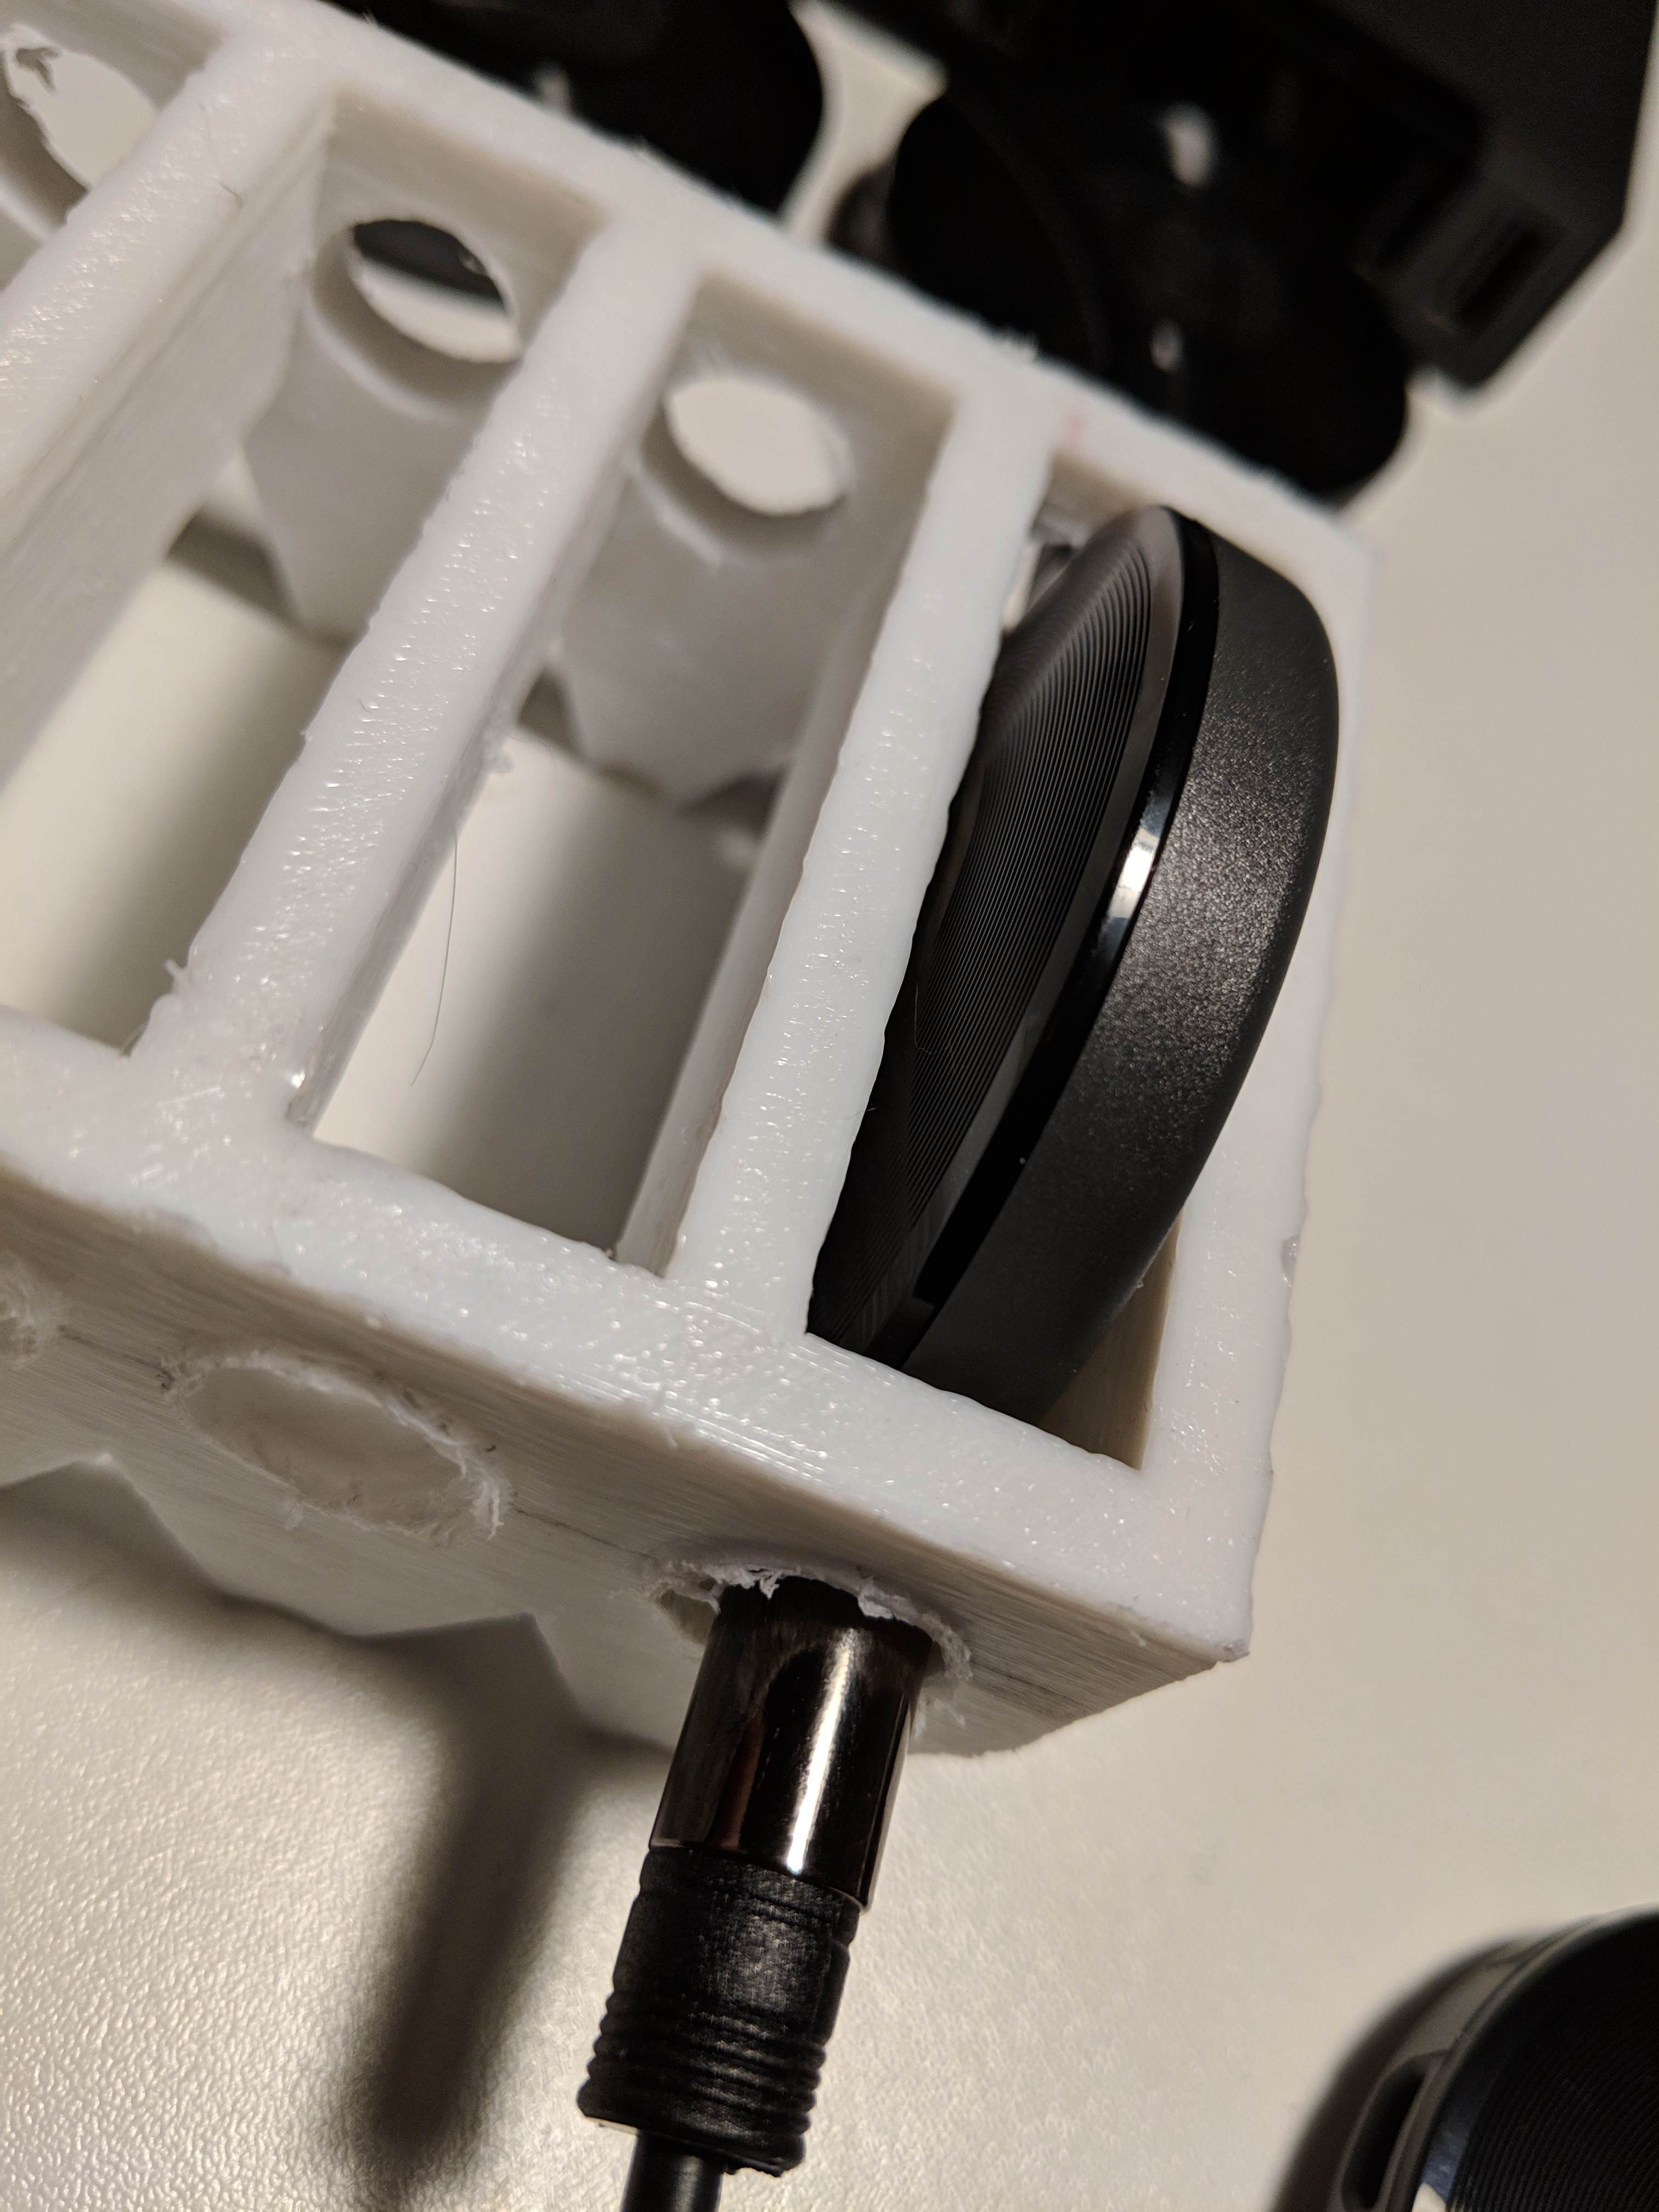
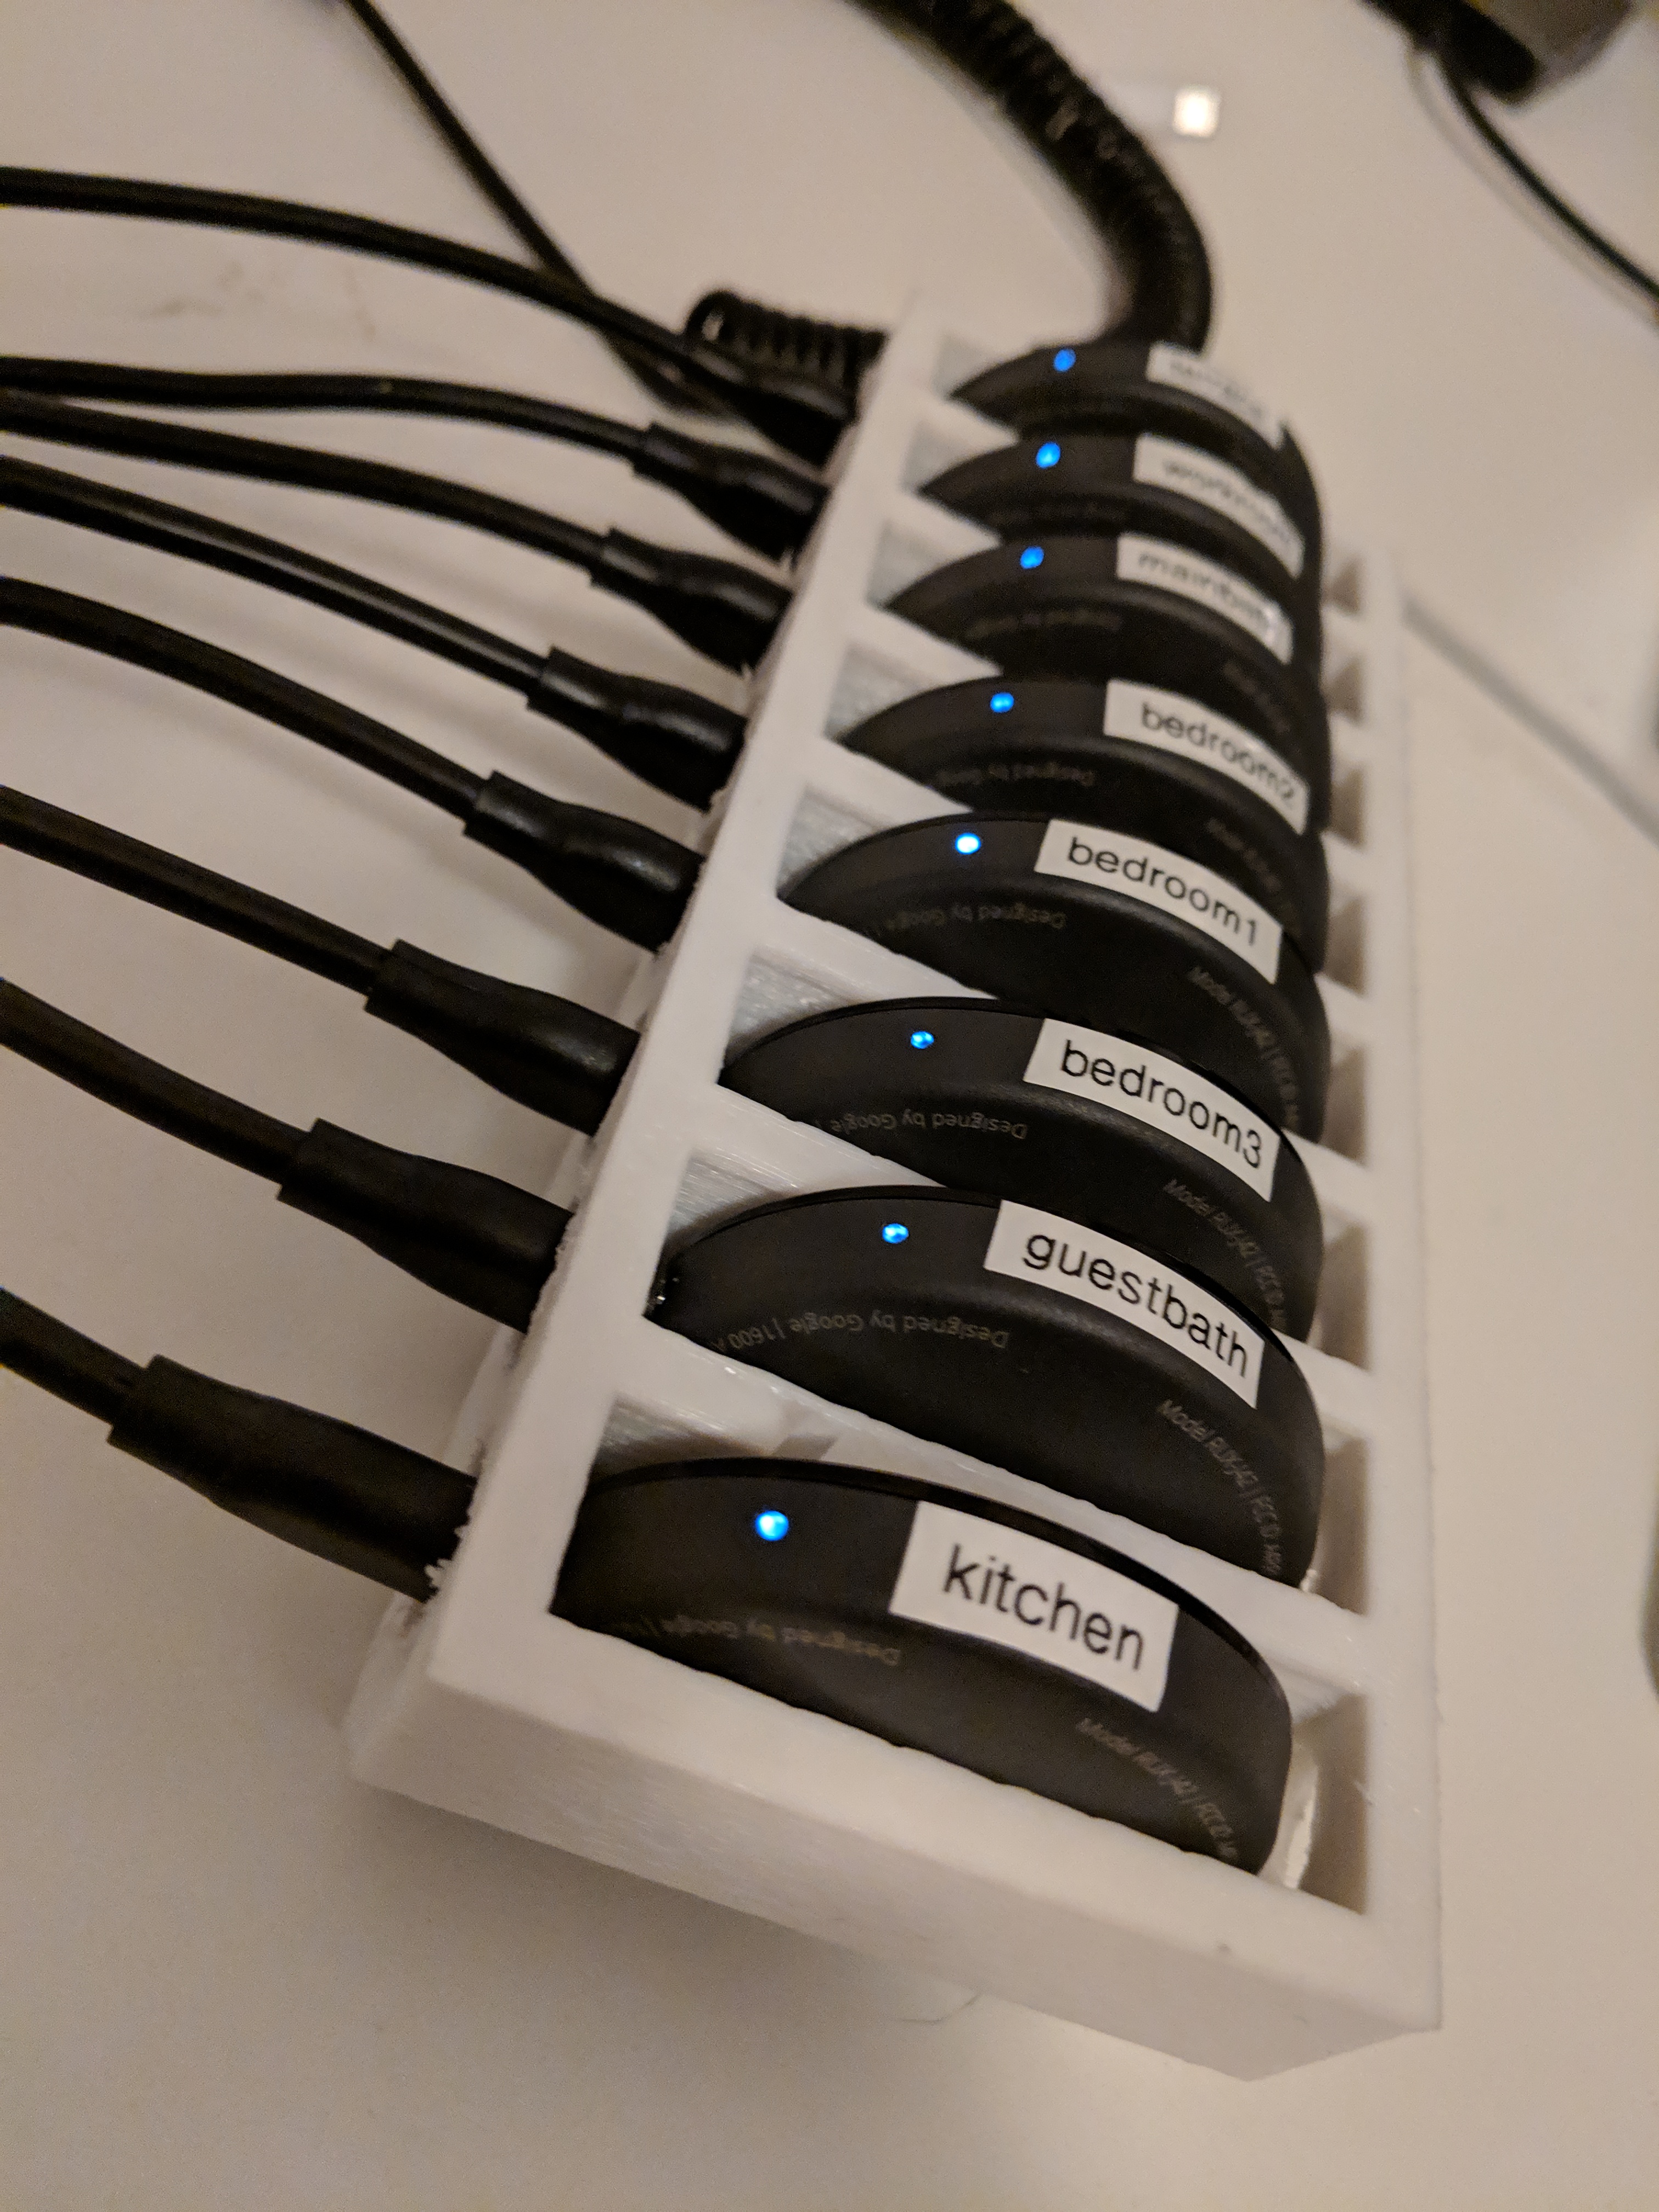
And finally we have a printed product and I drilled some holes in the sides (the original plan to have the cables resting was definitely not going to work). This way, the micro-usb and audio out cable hold the “puck” in place.
As soon as the eight 3.5mm to RCA cables arrive from Aliexpress, I’ll wire those up to feed into the Apart amp….
I ordered internet in August. 10 weeks later, it was enabled. The problem came from Pyür needing to install a new cable. They finally did this. The hassle came from receiving bills for non-existent internet. Anyway. Long story. The good part is that the packets are flowing.
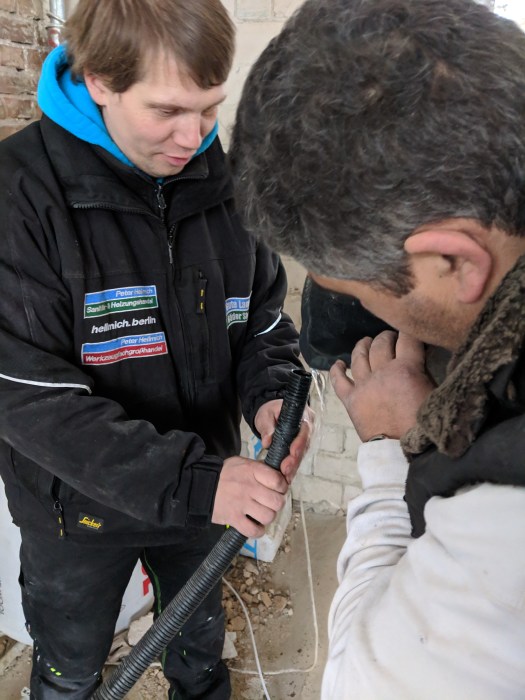
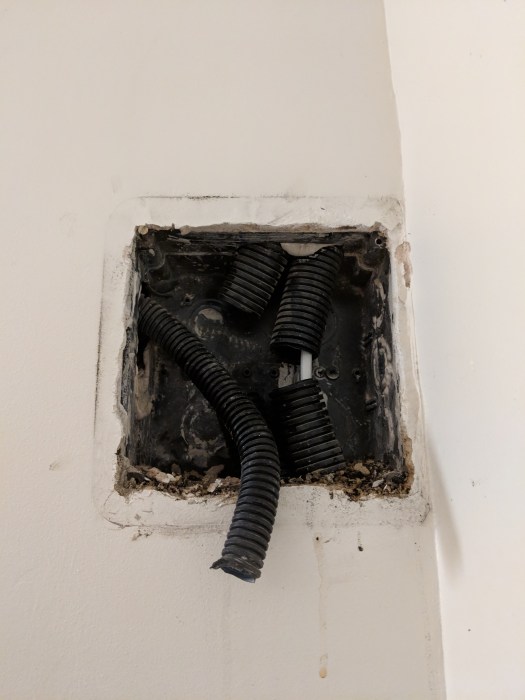
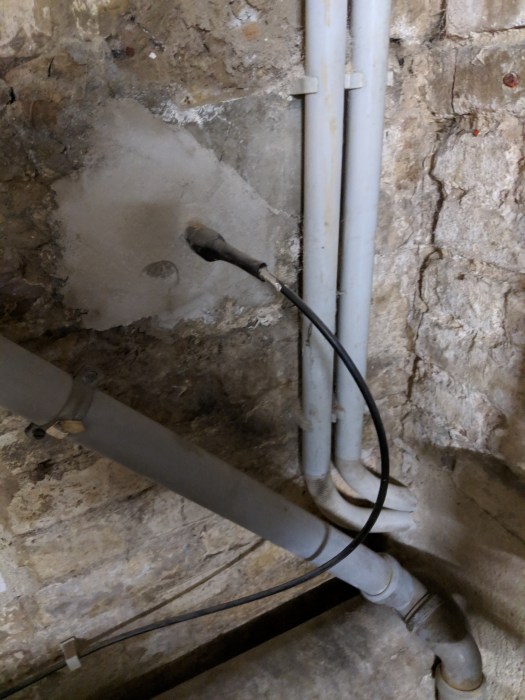
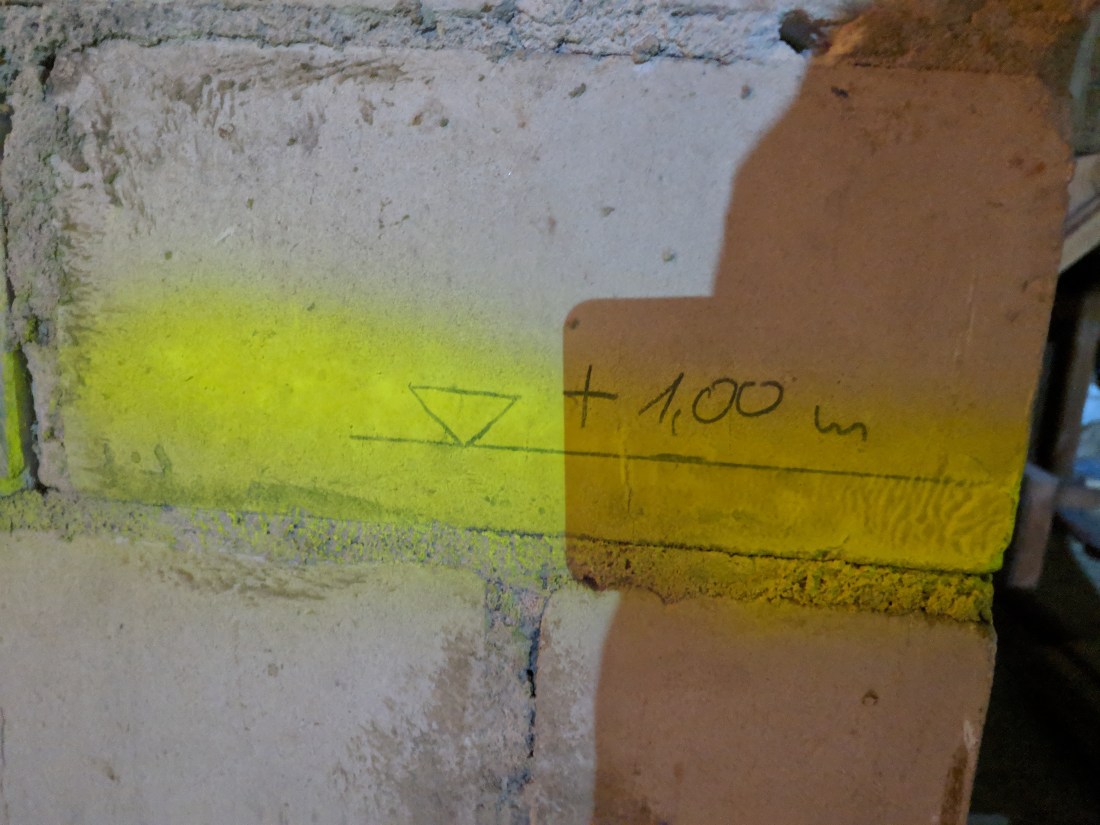
Using water to see if the conduit goes all the way to the cellar. A technique that I’m not familiar with, and personally wouldn’t use.
the conduit interconnect between floors
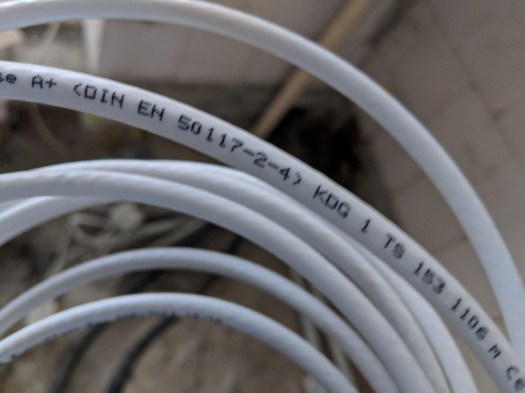
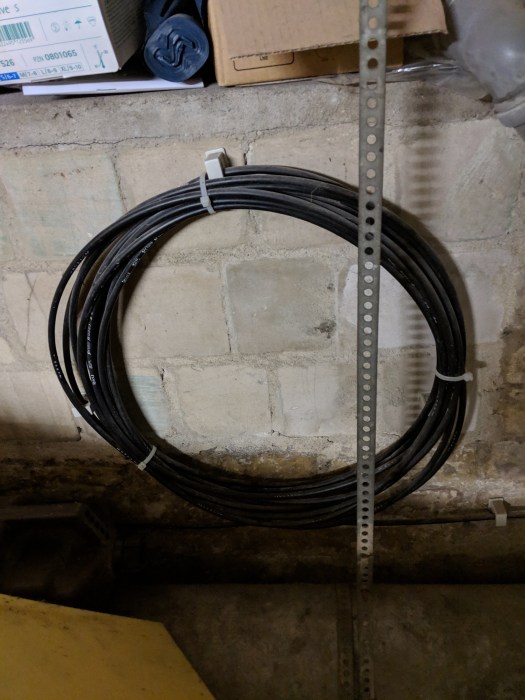
note to self: Cable distribution runs over a 75 Ohm cable.
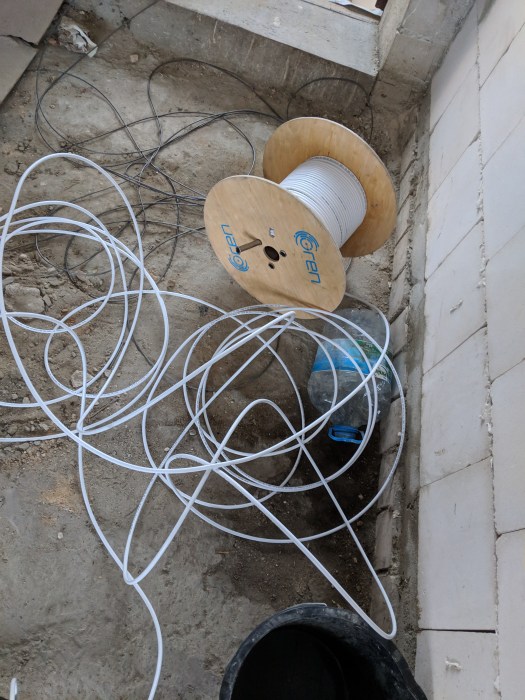
I had asked that the installers would leave enough cable to get to the elektroschrank without needing to join cable. Dreams didn’t come true.
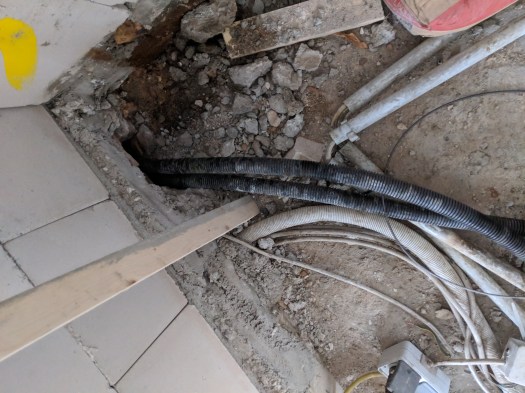
The Conduit between floors.
Fibre arriving from the street.
extra fibre
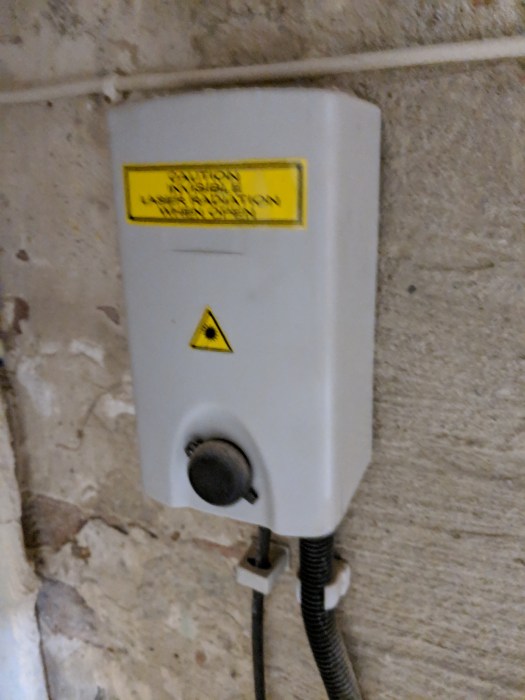
Fibre termination
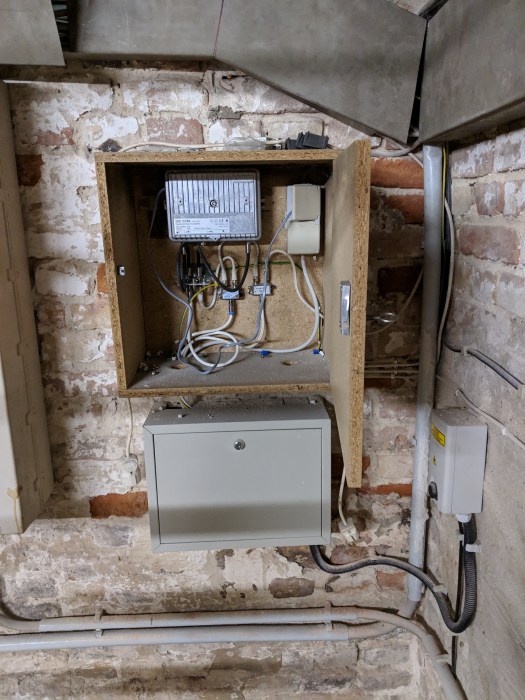
Cable distribution point
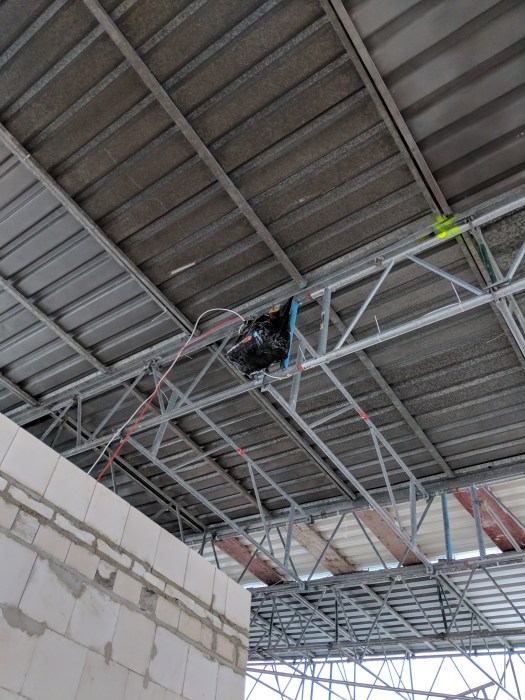
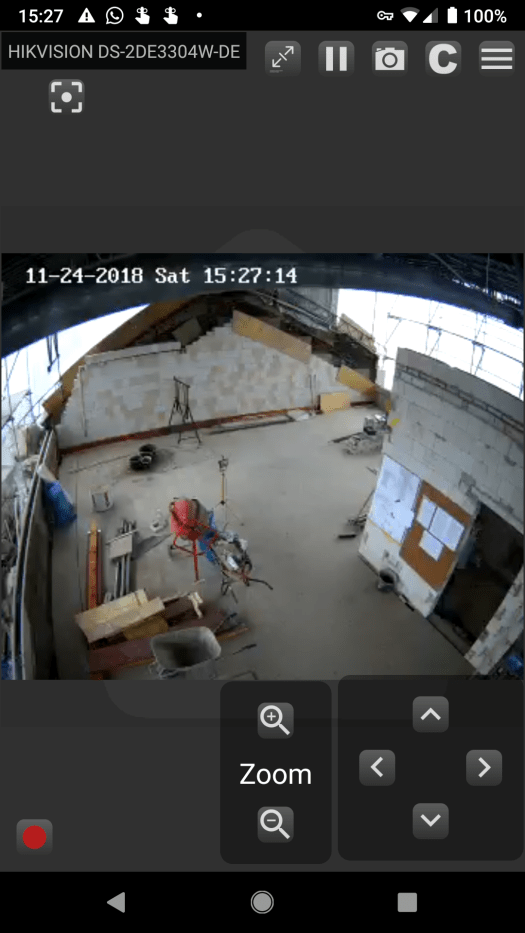
Now that the connection is in place, I wanted to do a recording of the build process using the Pan-Tilt-Zoom IP camera. So today I was there to install the camera and to get things wired up.
Bag of cables, router, switch, wifi, POE etc.
The camera
“somewhere up there”
It works too!
The interesting part was getting the VPN between current-home (W16-gw) and future-home (f17-gw) running. Wireguard works amazingly well and I’ve published my Openwrt home network config in case you are interested. The new apartment runs the f17gw.settings config and connects back to the edgerouterx.settings.
The next step is to look at how to record a stop-motion/frame-every-30-seconds video showing build progress. I started playing around with nginx’s RTMP module which can do amazing things (reading through the mailing list it looks like this module powers the *cam sites around the world). Half-finished bits in the system repo.
The floor is wood, the wall is wood. The challenge is to avoid everything being too “woody”.
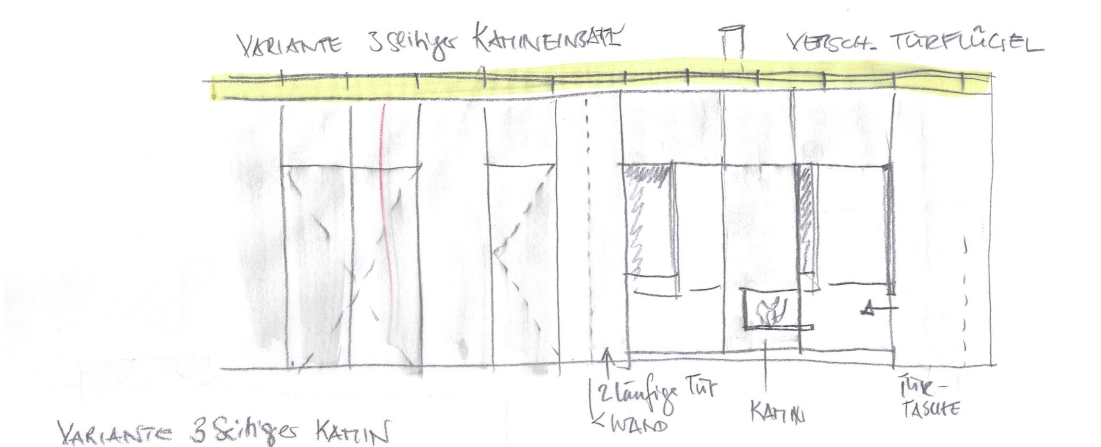
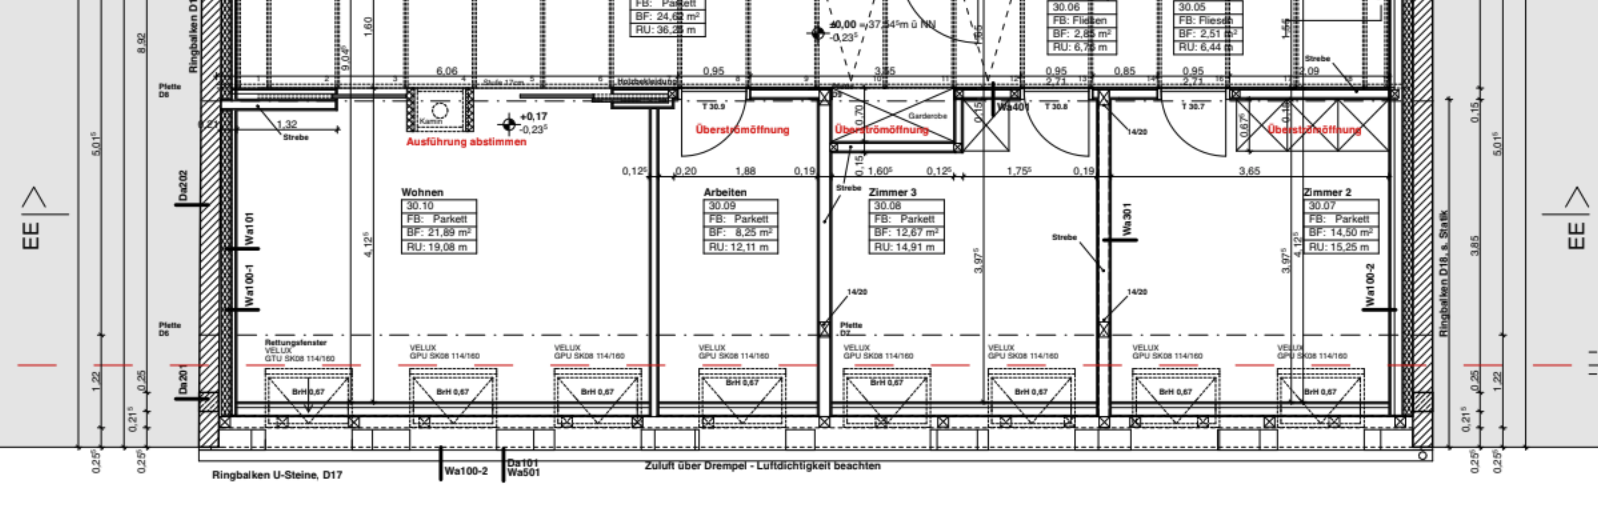
So we have a 16 meters of wall (diagram below holding the doors that lead to the lounge, workroom, bedroom 3 and bedroom 2) that could be painted white. Or, felted…
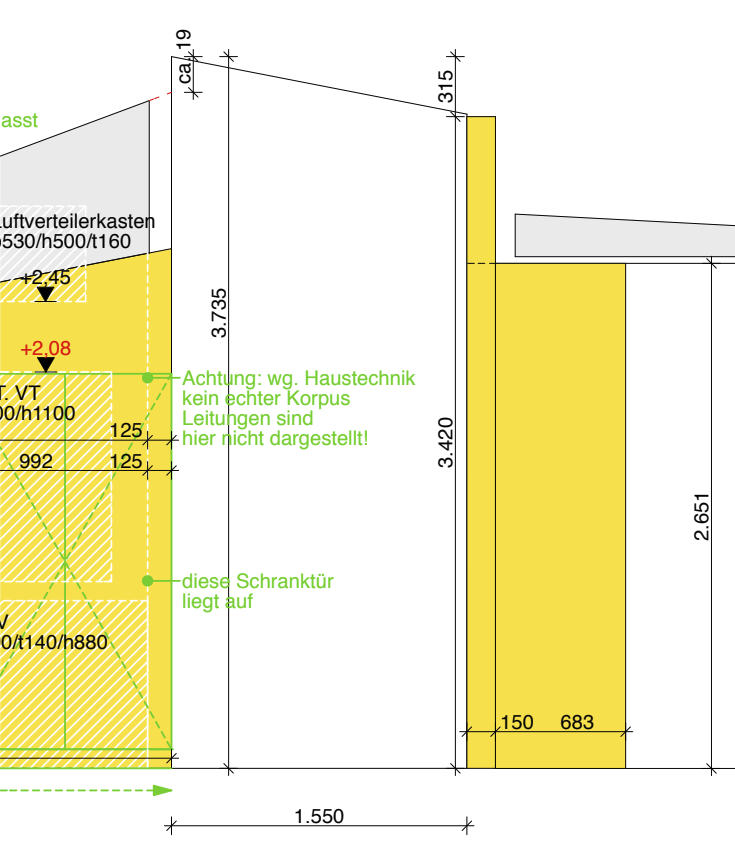
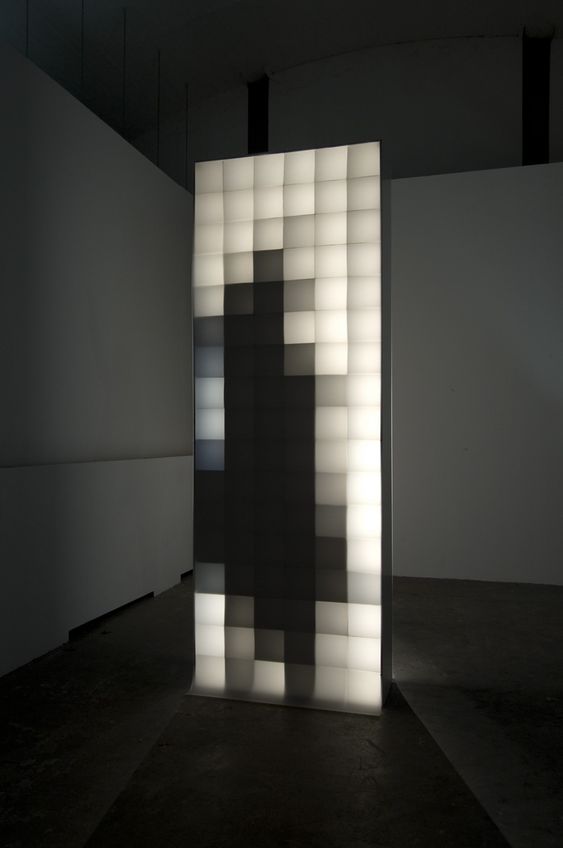
Additionally the end of the passage has a light installation that looks something like this:
Dimensions and details.
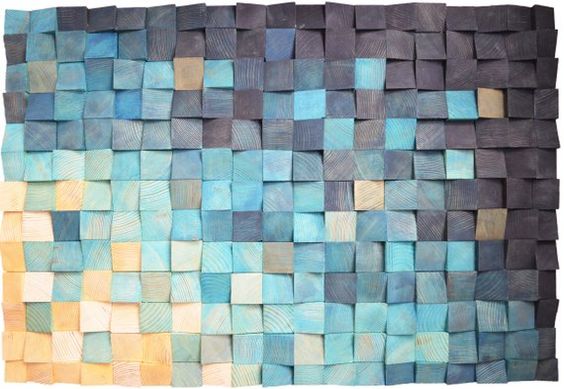
I really like this limited colour effect.
So what if we were continue that pixelation over to the wall around it – albeit not illuminated and perhaps more colourful (3 bit colour?).
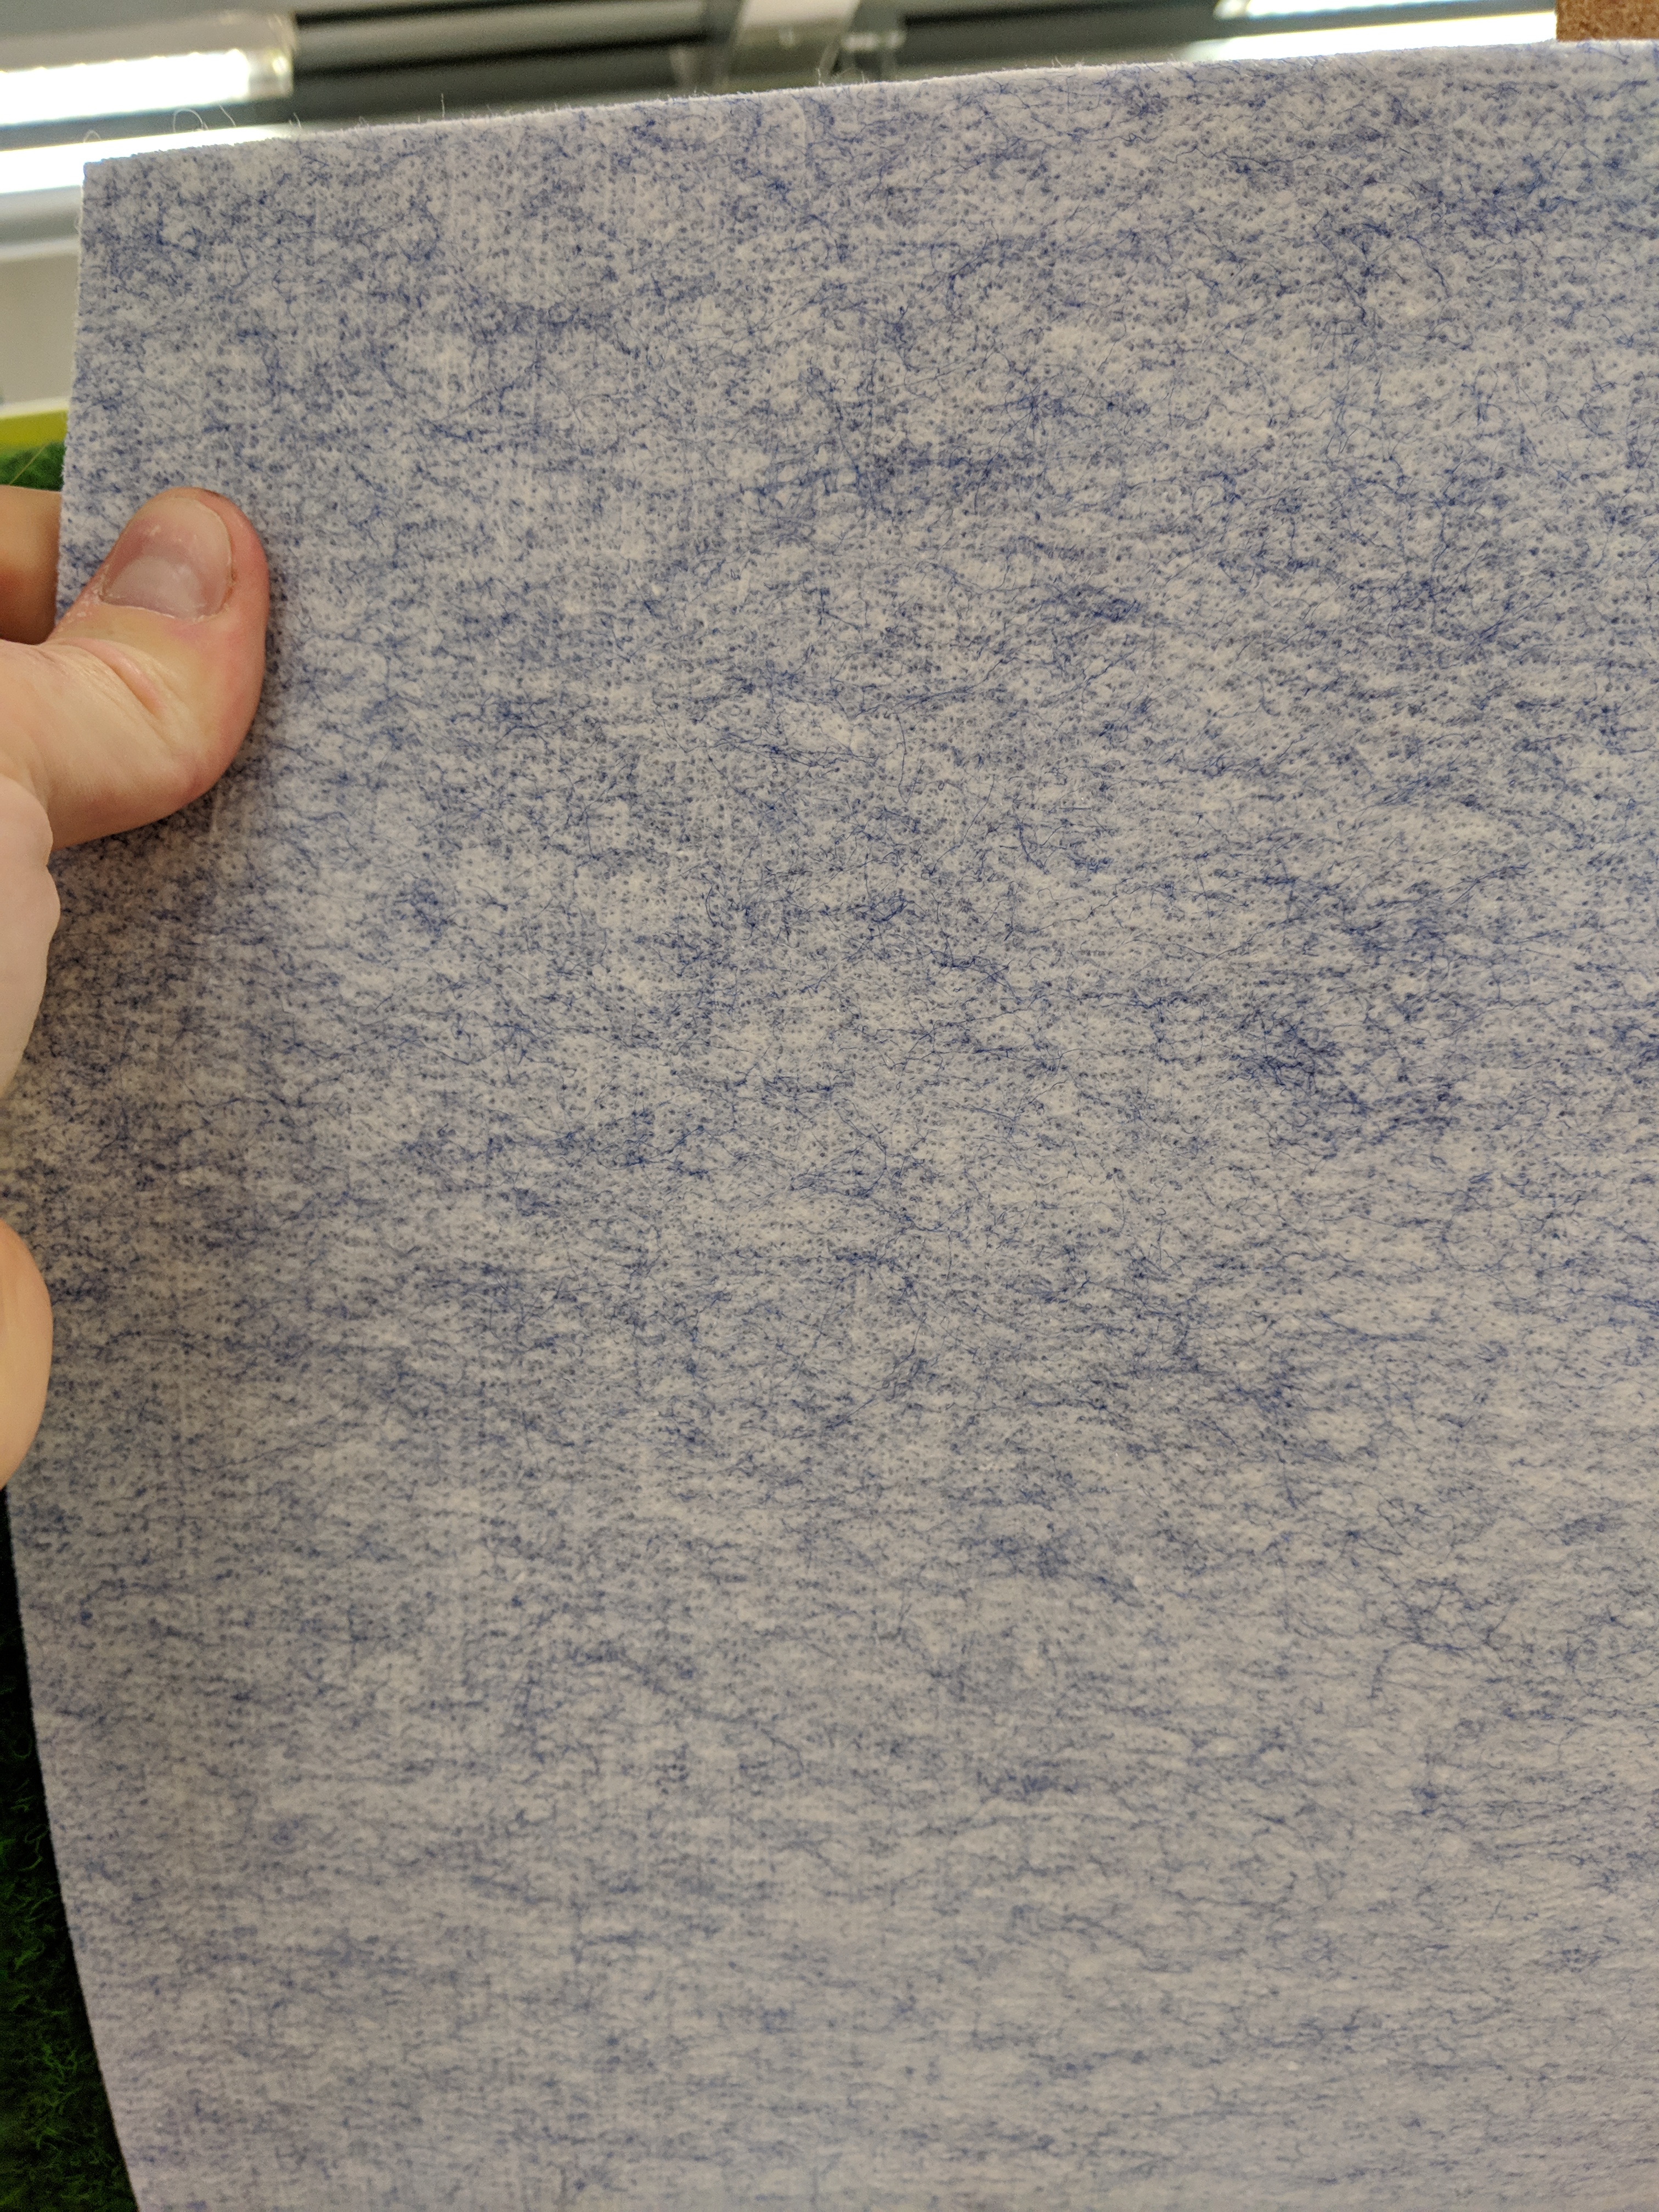
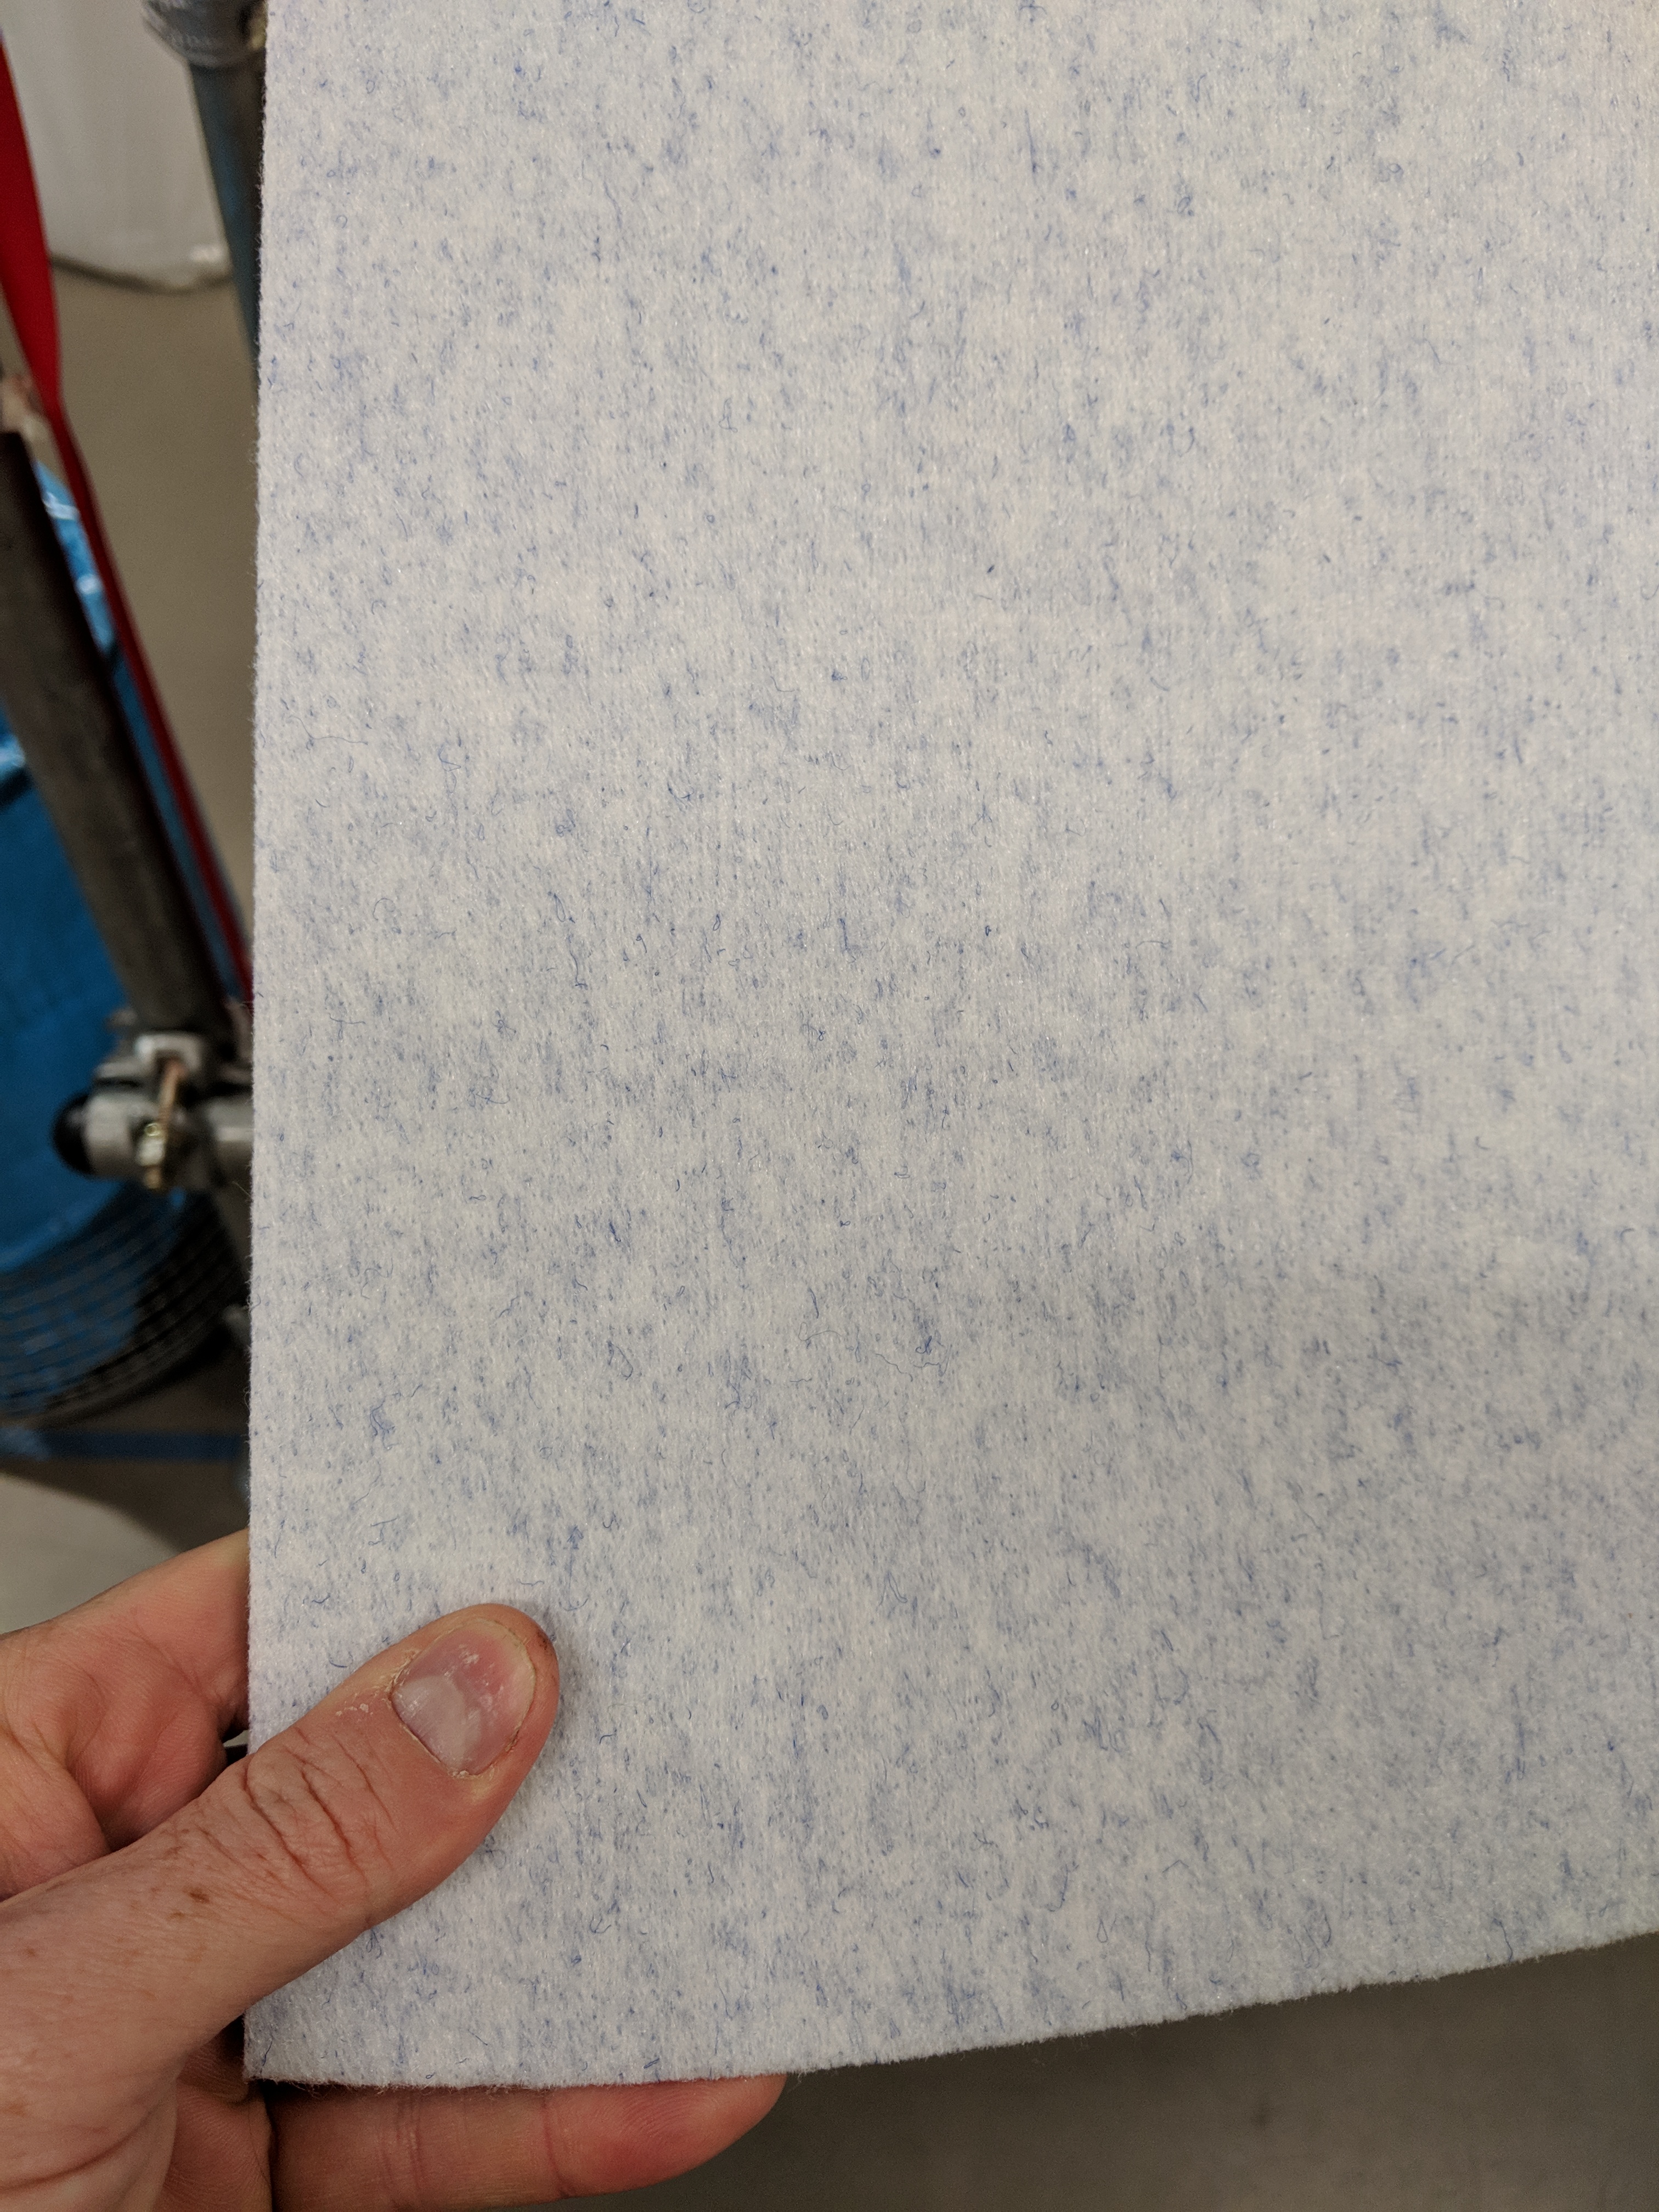
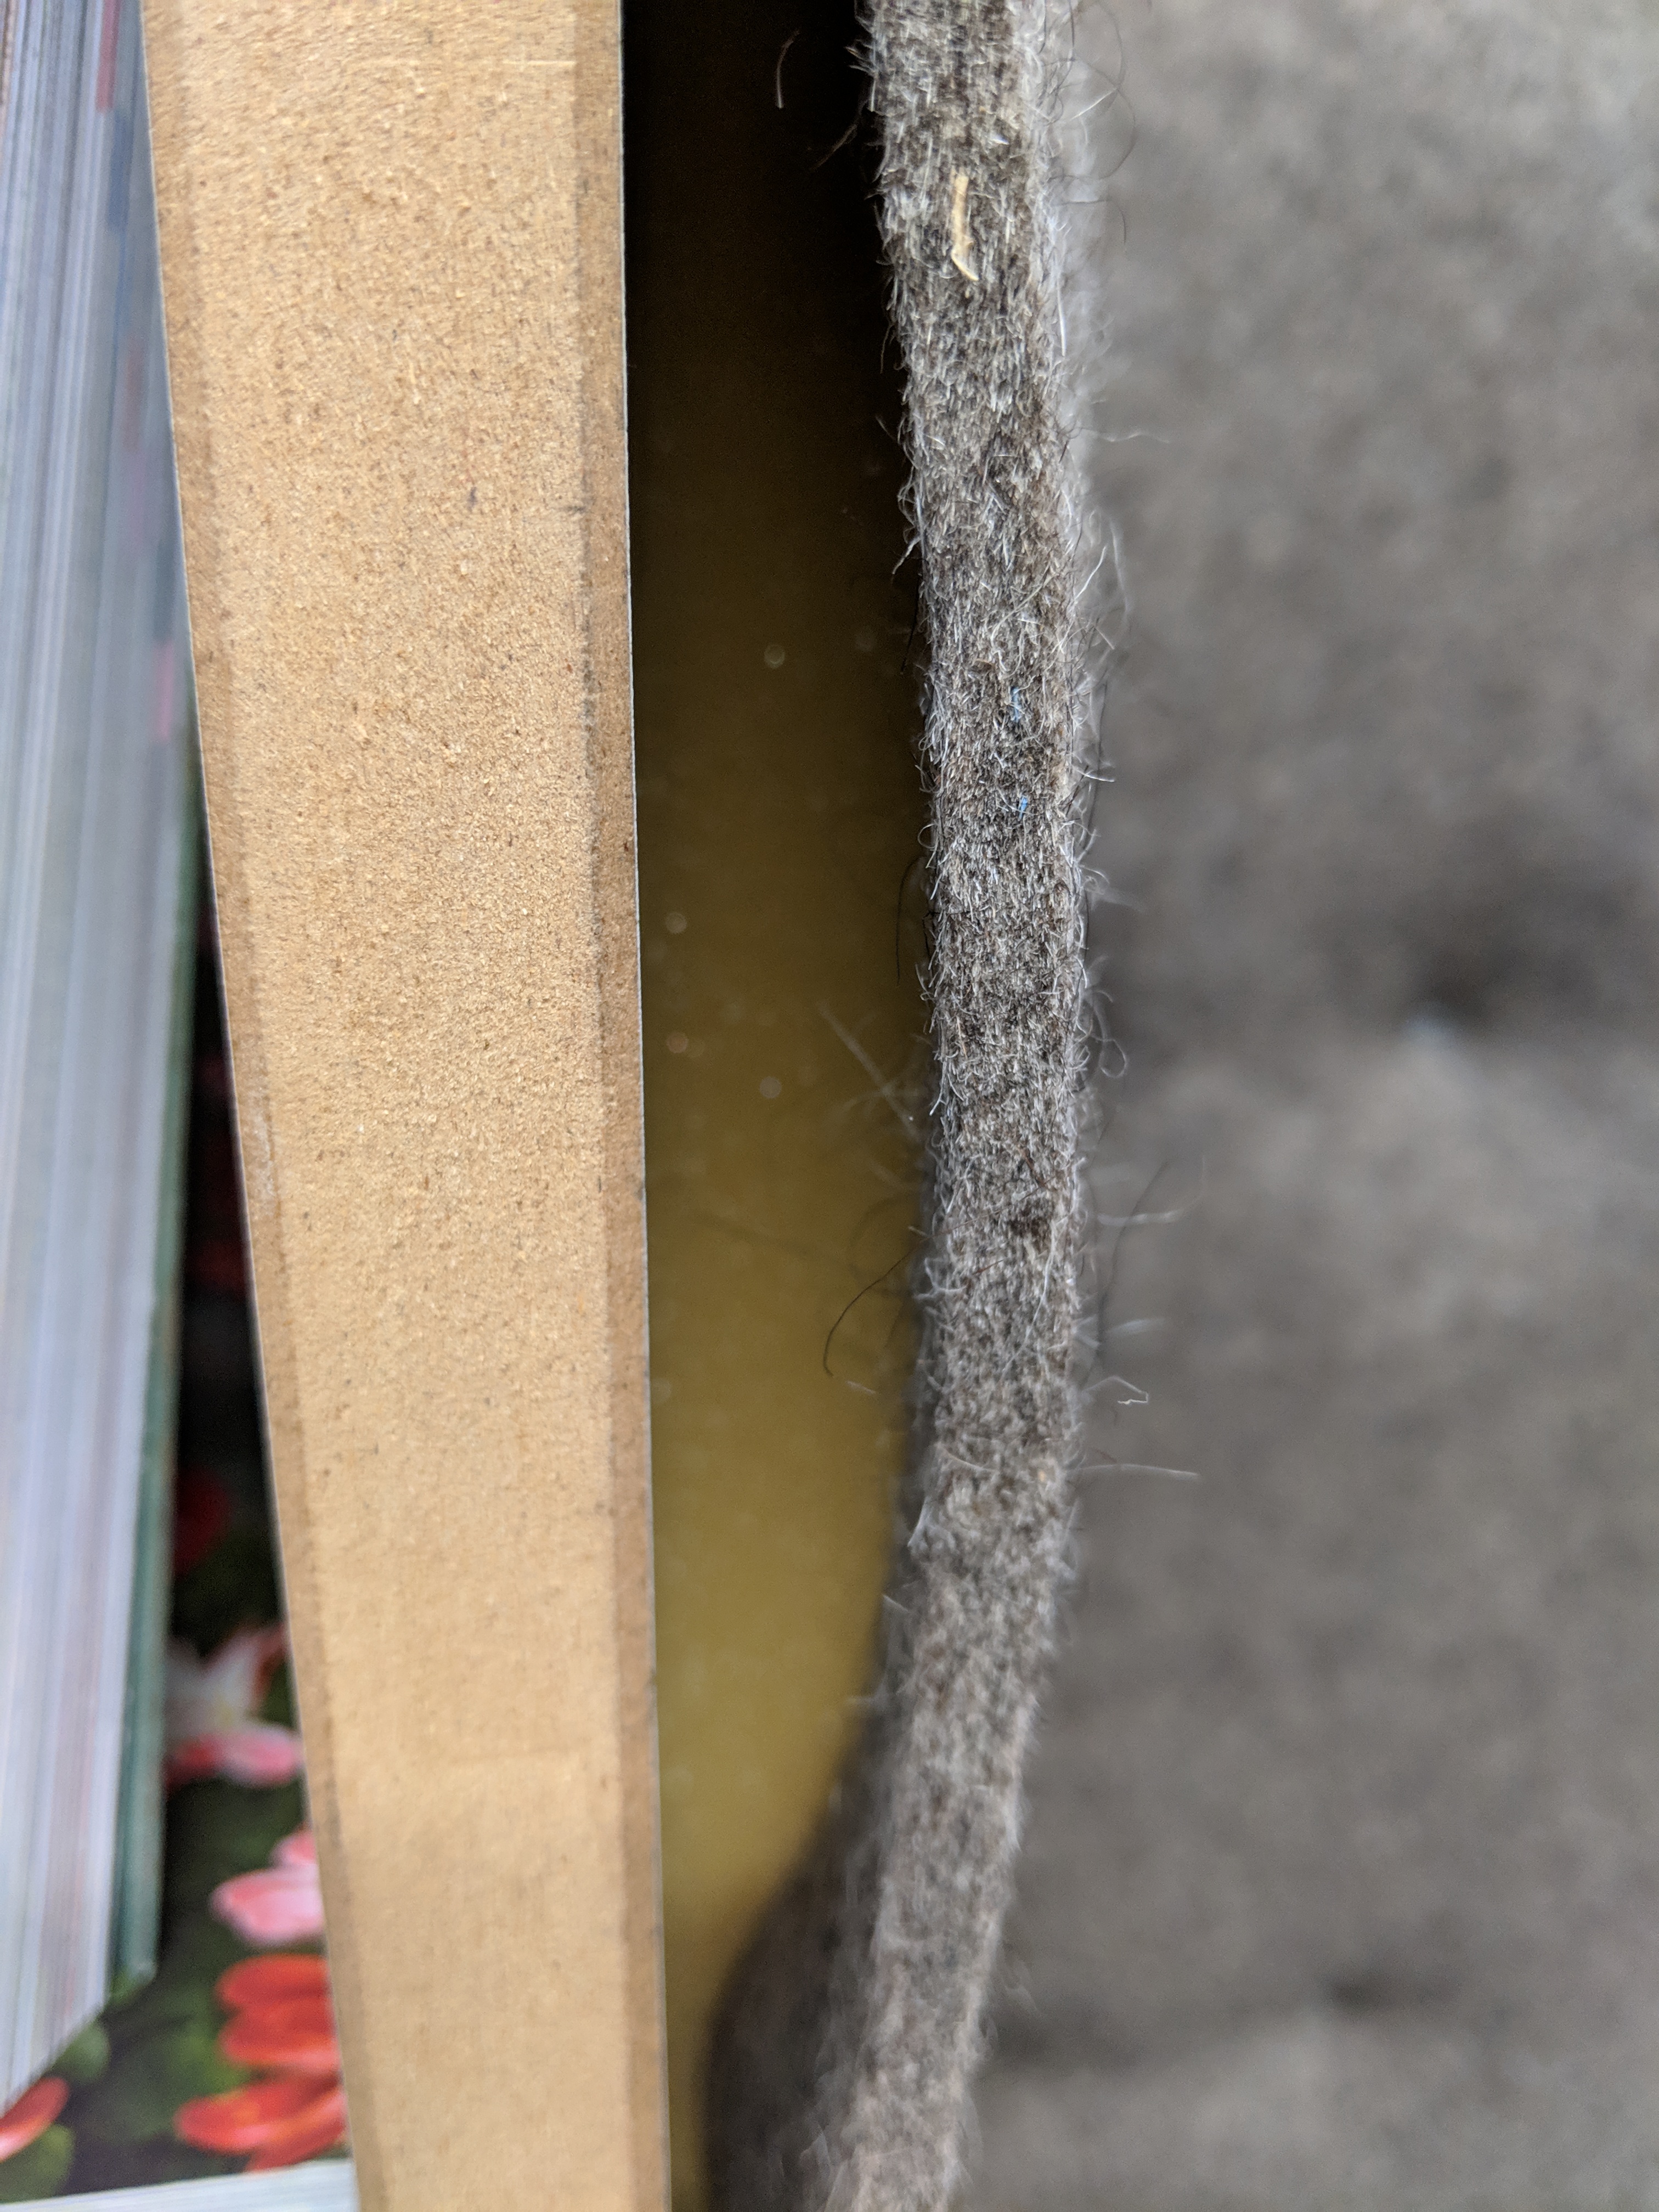
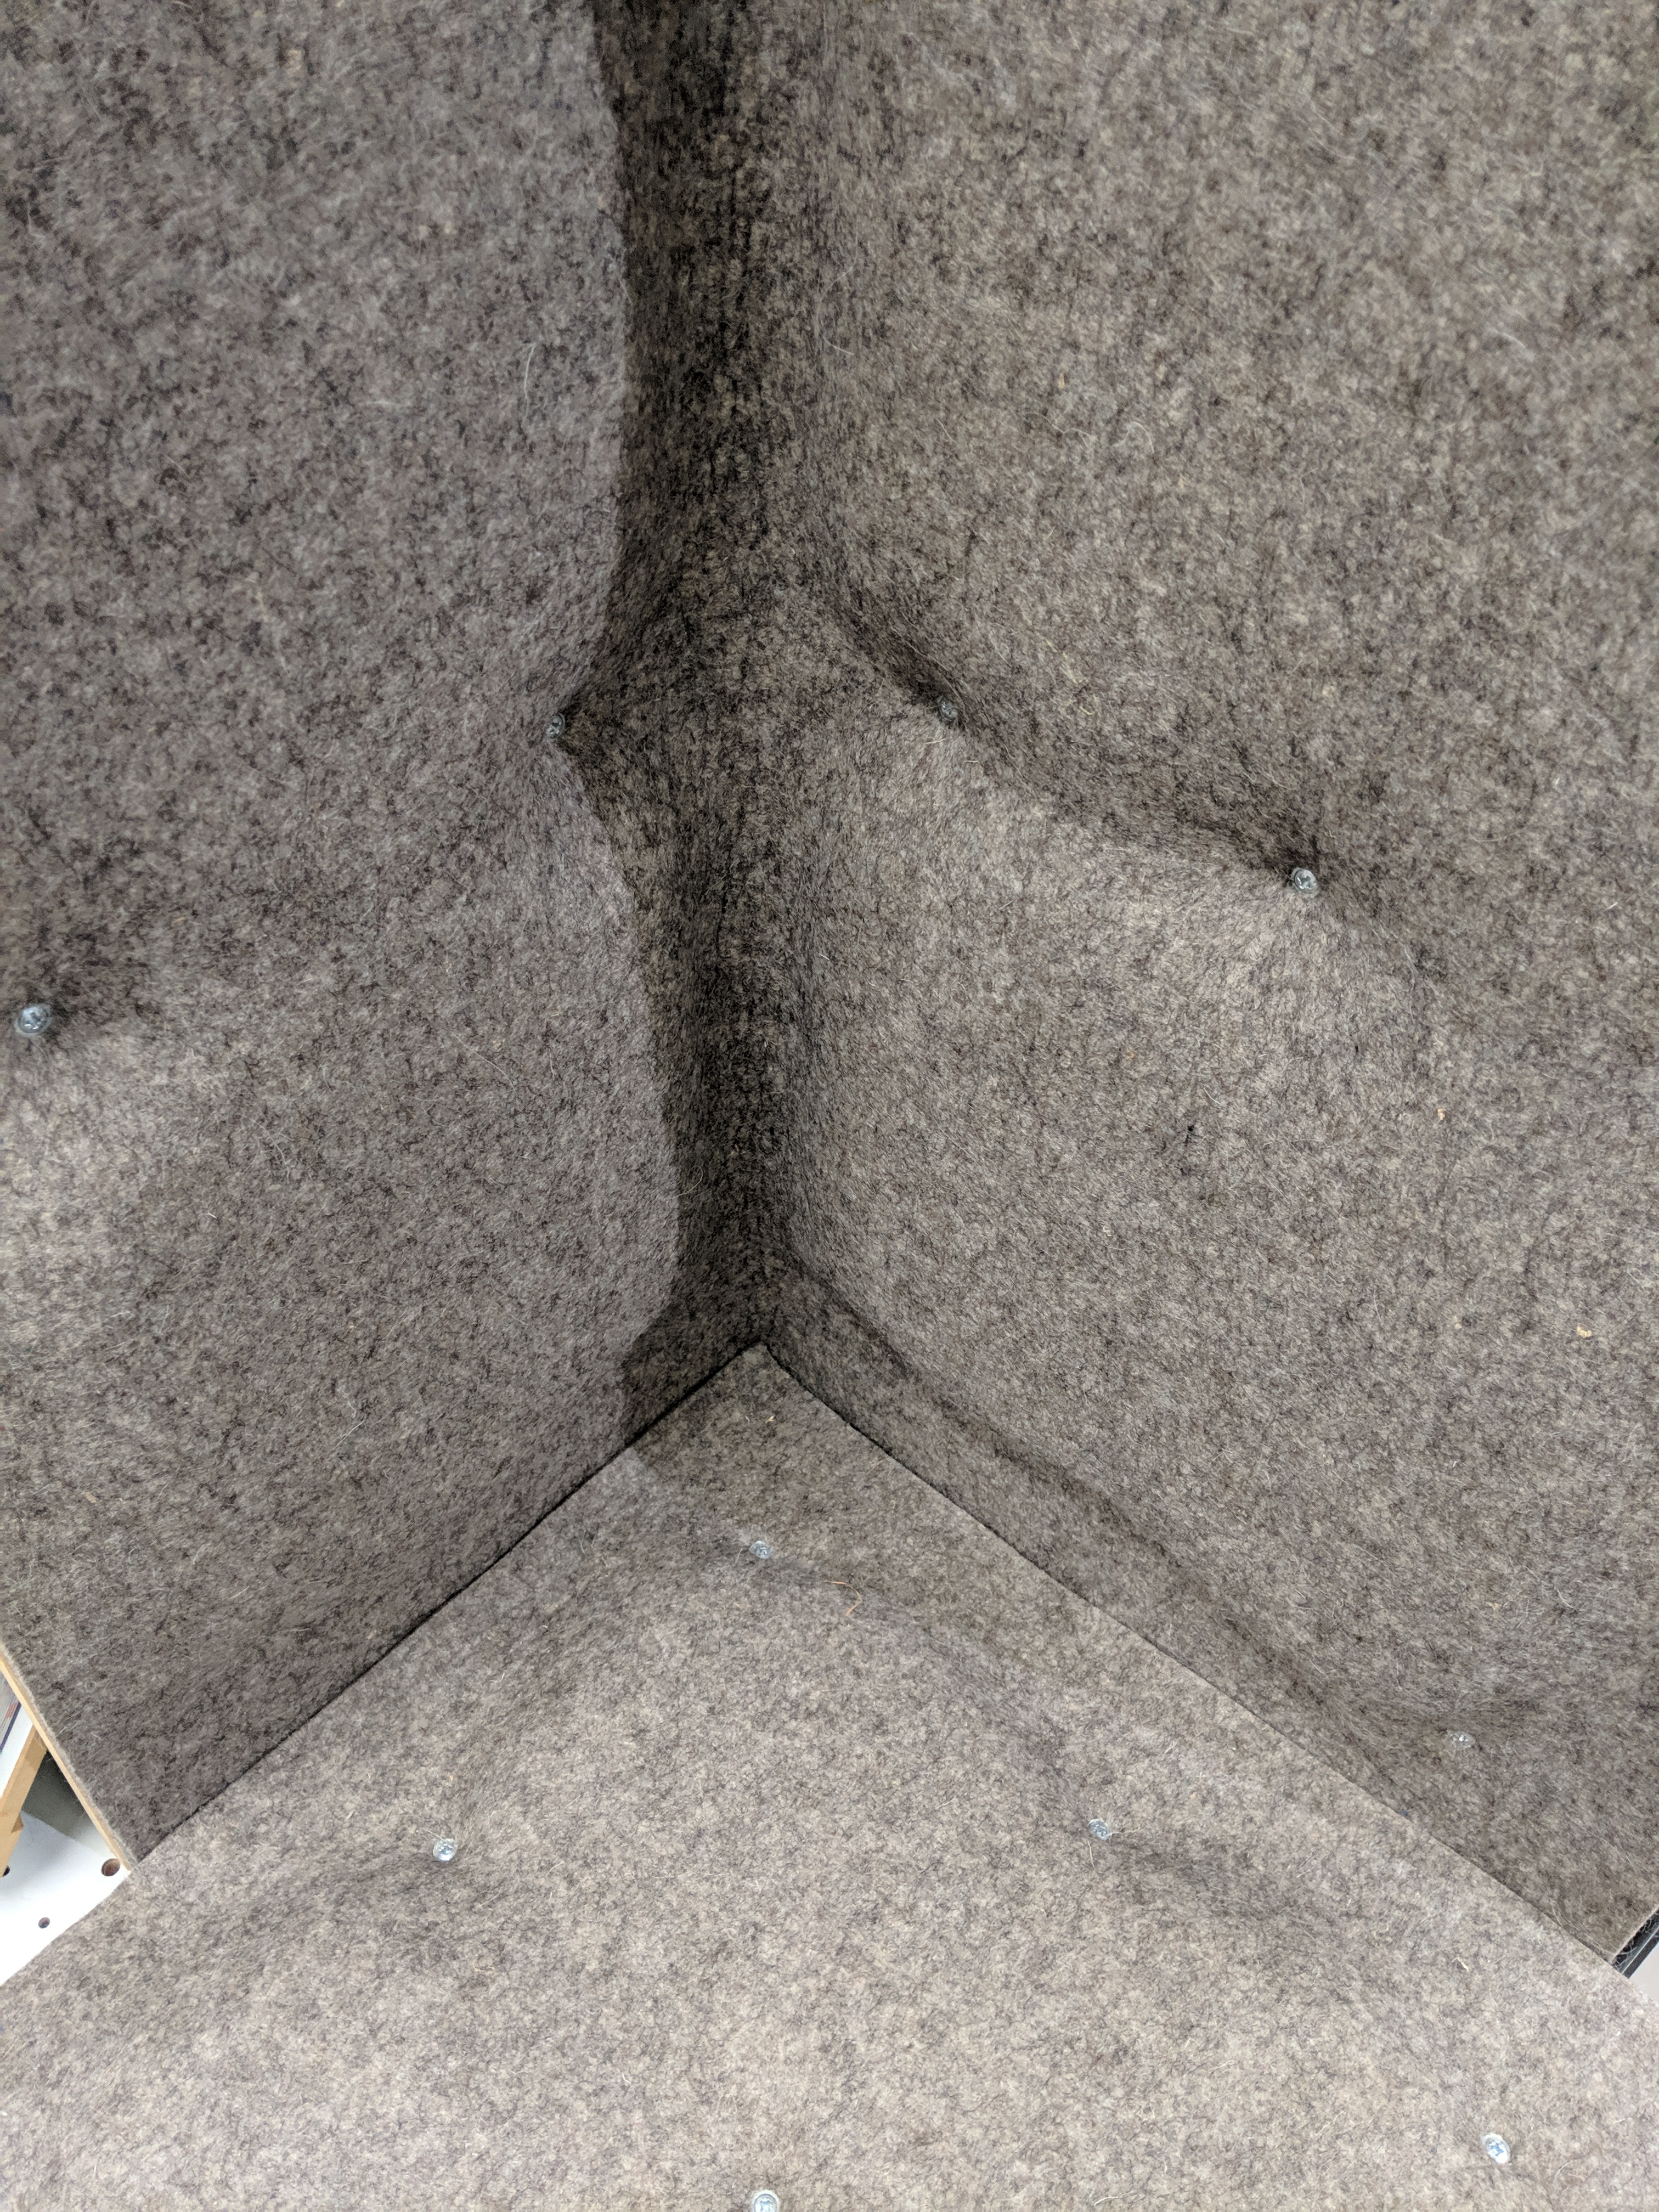
Felt? Why Felt?
Lots of colours to choose from.
I started looking around at materials for the wall and realised that this block of the apartment leads to the sleeping rooms – so something cozy and soft-ish. And the big win from using felt: sound absorption! A hard floor, second wall, and glass ceiling could lead to a very echo-y corridor. So thinking about other materials starts to become important. Felt is also reasonably priced (potential suppliers include VFG and Filzfabrik).
One colour on the back and one on the front
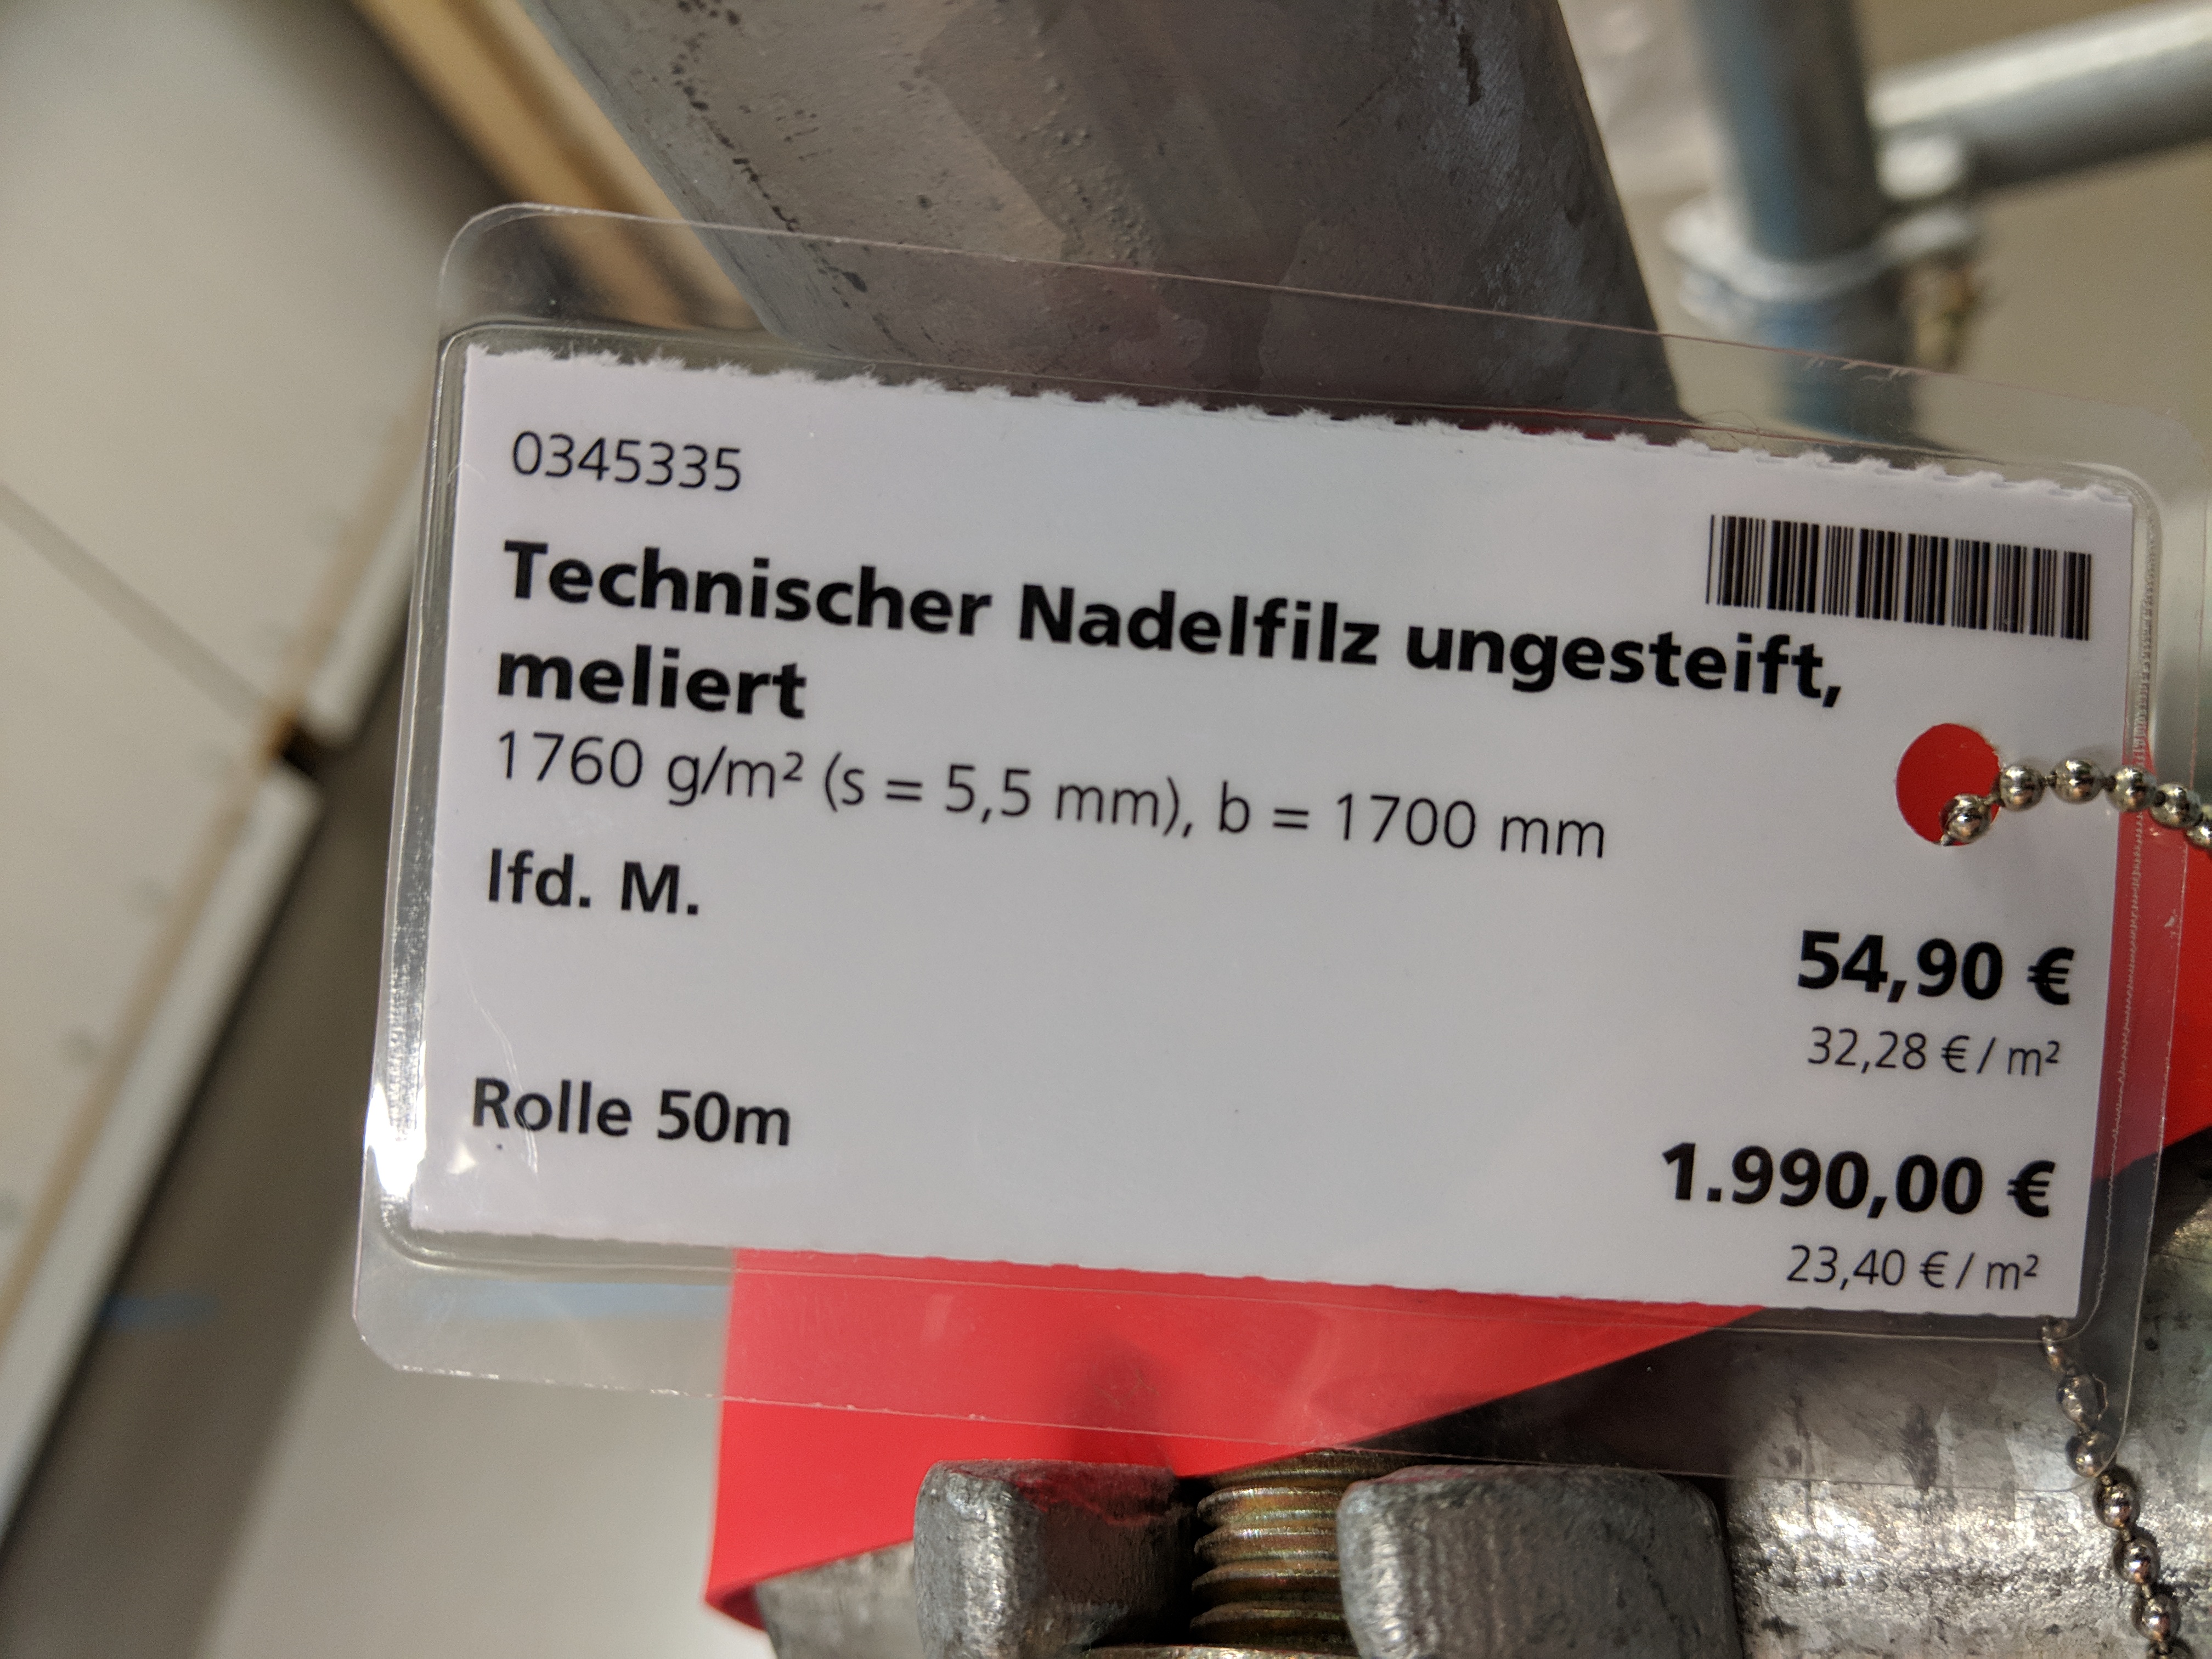
Modular is not the cheapest but this gives an idea of the price range.
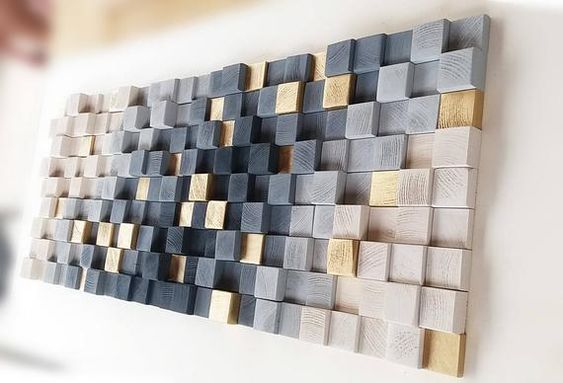
So I started with a Pinterest Board: Pixel Wall Some of the options I like are the restrained pallets like this. I also like the three-dimensionality of the wall. Perhaps wooden blocks behind felt could create a similar effect.
One interesting aspect of the passage wall is that doors are hidden. A panel can be a panel or could be a door. You don’t know until you push. Right now it’s:
Panel
Panel
Panel
Door to bedroom 2
Panel
Door to bedroom 3
Panel
Door to front door wardrobe (1)
Door to front door wardrobe (2)
Panel
Door to Workroom
Panel / hiding sliding door to Lounge
Gap/sliding door to louge
Fireplace
Gap/other sliding door to lounge
Final Panel / other sliding door to lounge.
It’s a long list. But the point is that this is a continuous space punctuated by access to rooms. Which leaves us with two approaches:
Ignore the panneling and design for a single pixelated image or gradient that spans the entire hallway.
make each panel/door different (there will still be no indicator as to which are doors and which are panels.)
Assuming option (1) and going for a giant pattern that spans the 16 meters and LED board at the end of the passage (±1.5m) side passage (±5M). For most of the way the height will be 3.4m.
Summary: we need a pixelated display that is 21.5meters long x 3.4m high = ± 70m²!
Assuming 10cm “pixels” we end up with 7000 pixels.
Assuming 20cm “pixels” we end up with 1750 pixels.
This is where I need your help:
I’d like to generate the pixel pattern from a limited set of colours and heights (perhaps varying between 5mm, 10mm and 15mm in front of the wall). The colour palette should be reasonably restrained (perhaps a maximum of 5 colours) since each colour will be another order of felt rolls.
This is an example with wooden blocks but ideally this would be done using 5mm thick felt.
So there you have it. The future is felted. If you have ideas for a quick algorithm to generate a pixel felt wall, I’d love to experiment together.
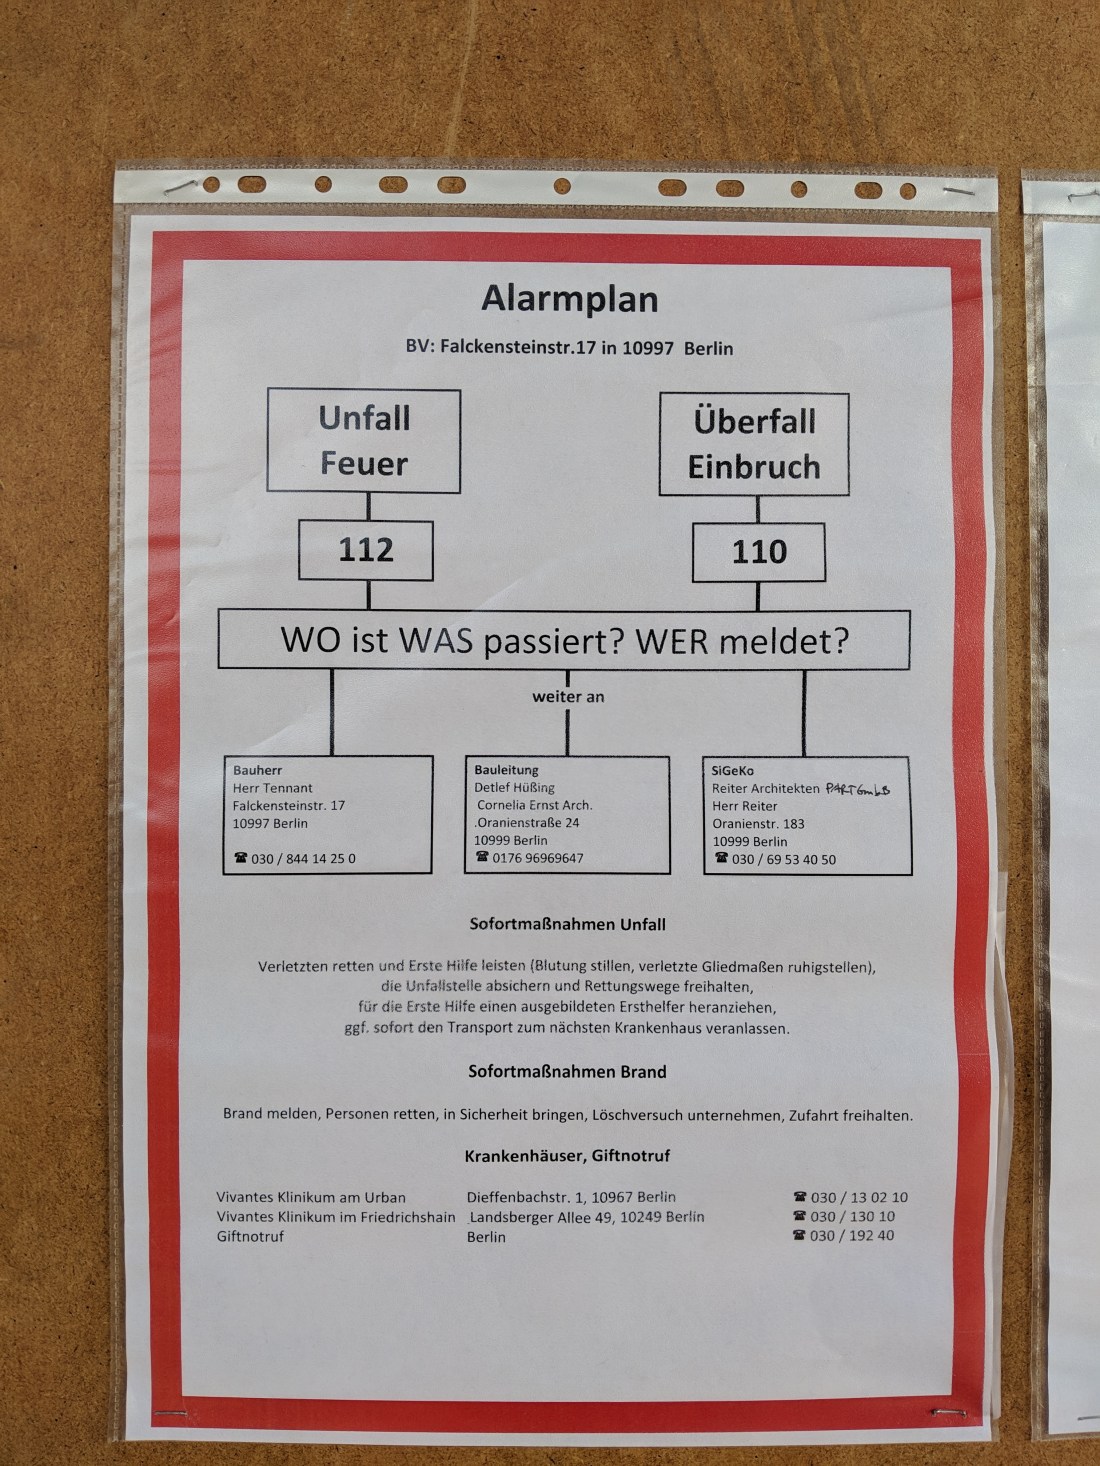
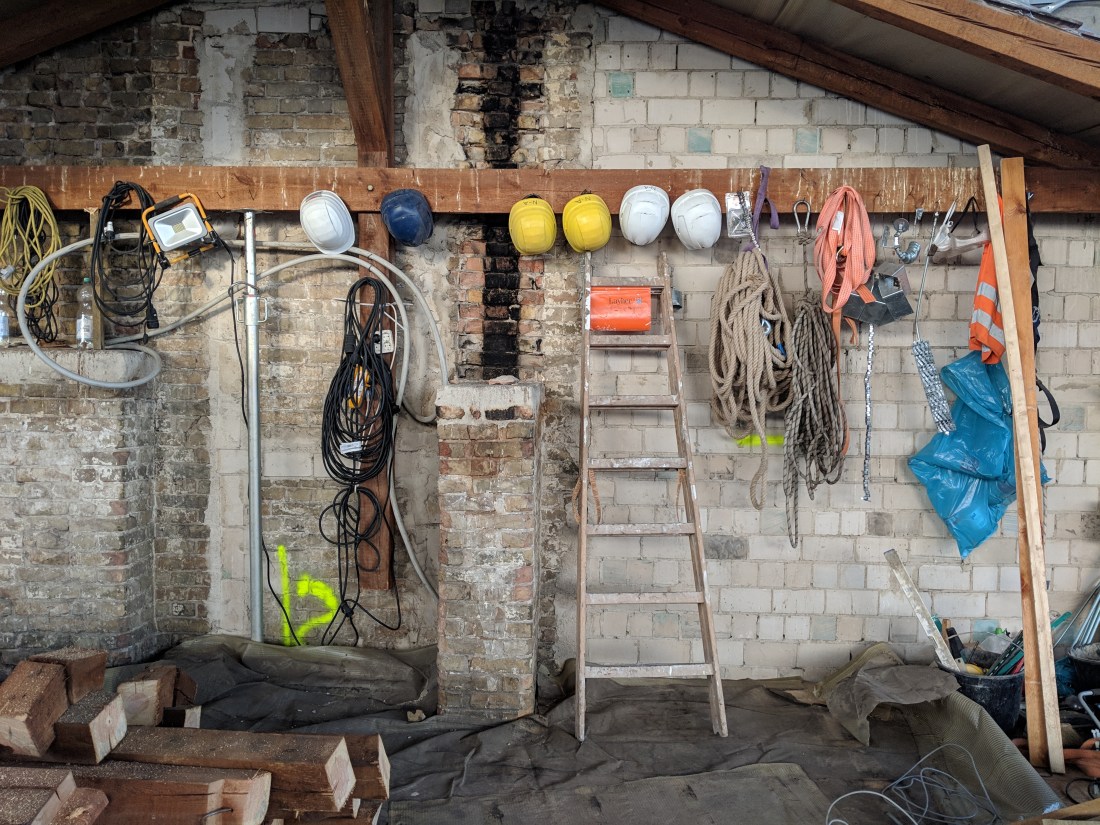
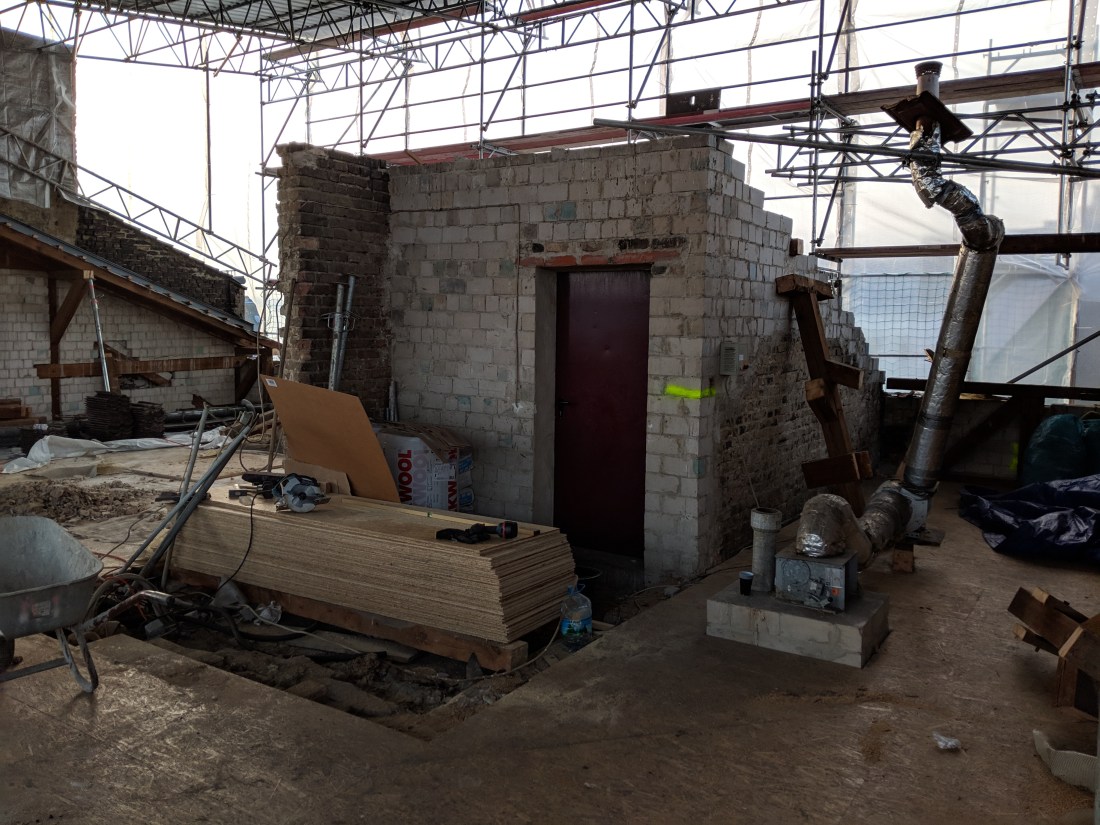
Today saw a visit from SiGeKo, shiny new emergency instructions and fire extinguishers. All over shadowed by a wall that threatens to fall over and is being propped up with steel poles. Needless to say, the 10am “Baubesprechung” ran on for a few hours. Good to see everyone and exciting progress.
Update: the falling over end wall (Feuerwand) will now be demolished.
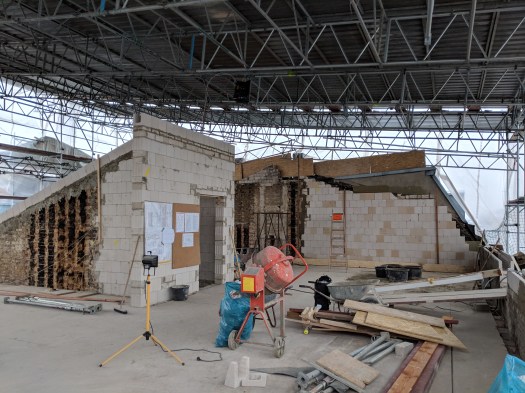
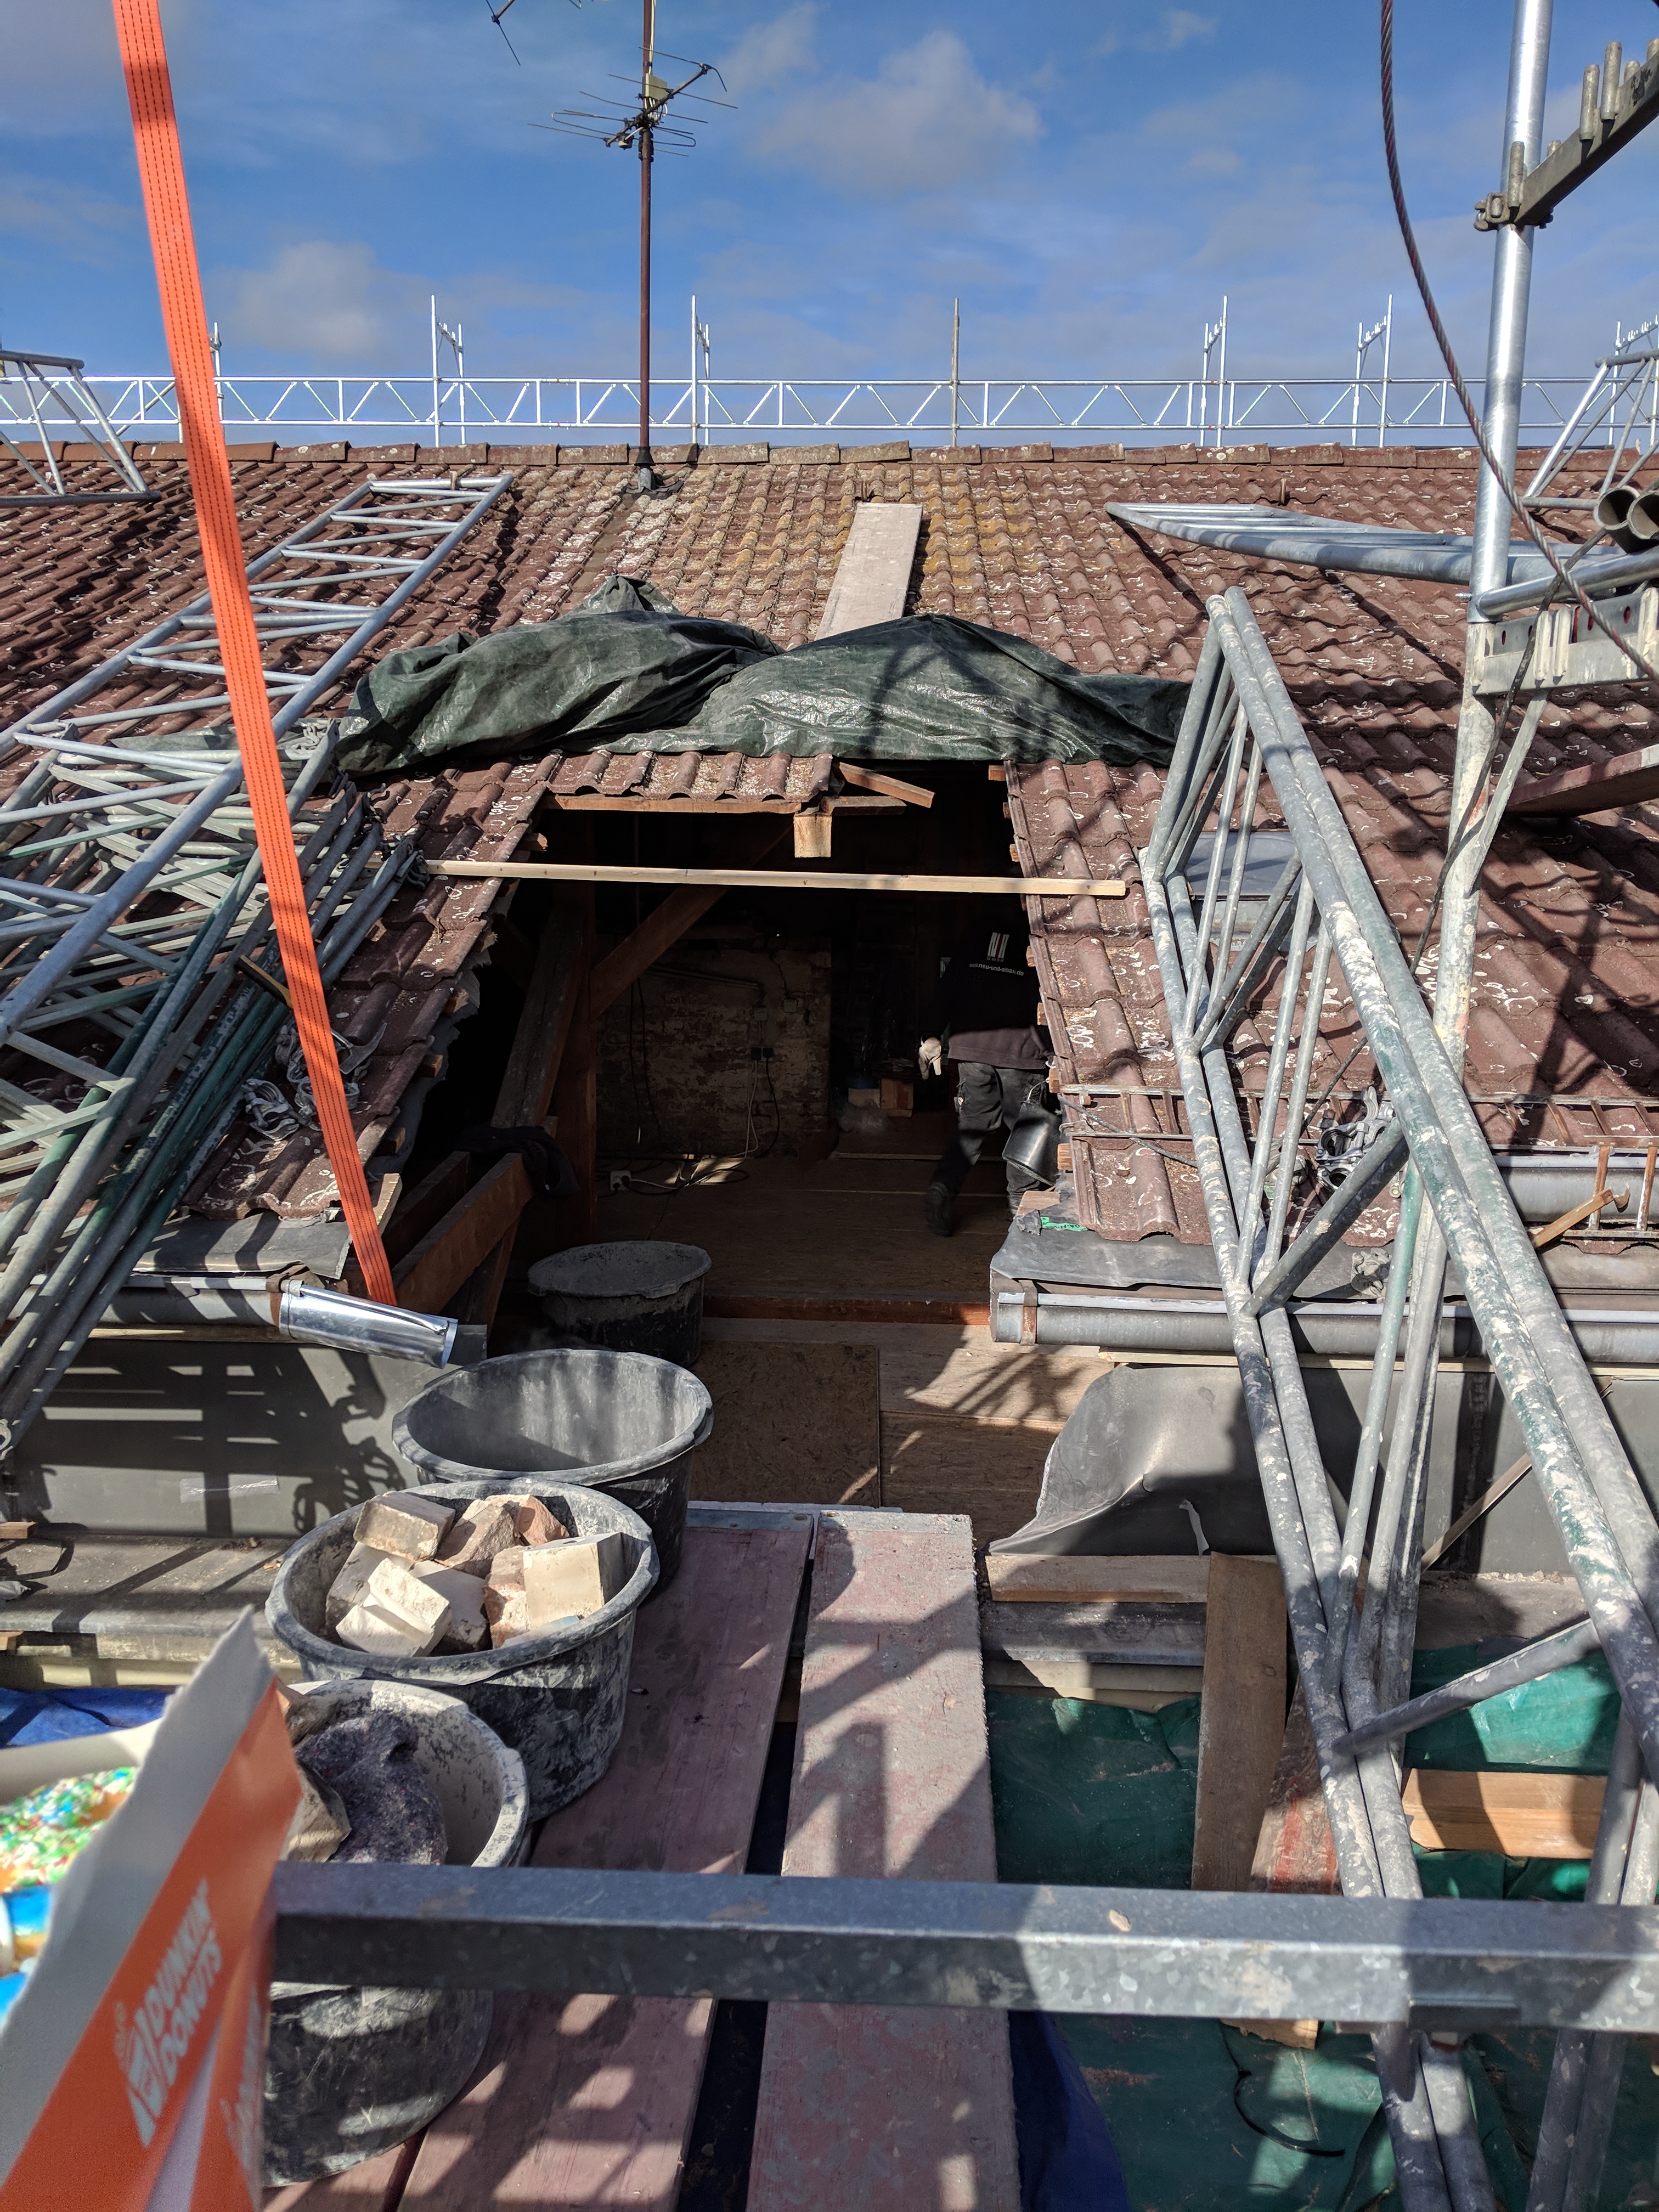
I visited the F17 building site this afternoon to see that the roof has been completely removed! Here are some photos while the builders were at lunch.